
This Device: the phone as a Bluetooth gamepad
Choose this when you want a compatible receiving device to see the phone as a game controller.
- Turn on Bluetooth on the phone and the receiving device.
- Tap Add Output / Change Output → This Device.
- Add and configure your inputs.
- Tap Start Mapping.
- Accept the Bluetooth or nearby-device permission request if it appears.
- Allow the phone to be discoverable when Android asks.
- On the receiving device, open Bluetooth settings and add a new device.
- Select the phone or its Intent Controller gamepad entry. The name shown can depend on the receiving device.
- Accept pairing on both devices if asked.
- Test a simple action.
On later runs, the app can try a remembered Bluetooth host. You still need to power the host, enable Bluetooth, and tap Start Mapping.
This output sends a Bluetooth gamepad. It does not send typed keyboard text or desktop mouse input. A receiving device must support the Bluetooth gamepad connection; some consoles do not accept a generic Bluetooth controller.
ESP32 output
An ESP32 output is a bridge. There are two separate connections:
Phone → ESP32 board → receiving computer or console.
The Wi-Fi / USB choice in board setup controls the first connection. It does not choose how the board presents a gamepad to the receiving host. That second connection depends on the board hardware and its firmware.
- Tap Add Output / Change Output → ESP32.
- Select and verify the output board using board setup.
- Tap Save and choose controller.
- On the ESP32 screen, open CONTROLLERS if it is folded.
- Select a saved controller identity, or tap + Add.
- Enter an identity or scan a USB controller as described below.
- Select the identity in the controller list. A tick shows the selection.
- Tap Apply to ESP32.
- Wait while the app applies the details and checks the board. A restart may briefly disconnect it.
- Finish with the offered completion or Continue with… control, or return home once the applied setup is confirmed.
- Connect or pair the board with the receiving host using the method supported by that board.
- Configure your inputs and tap Start Mapping.
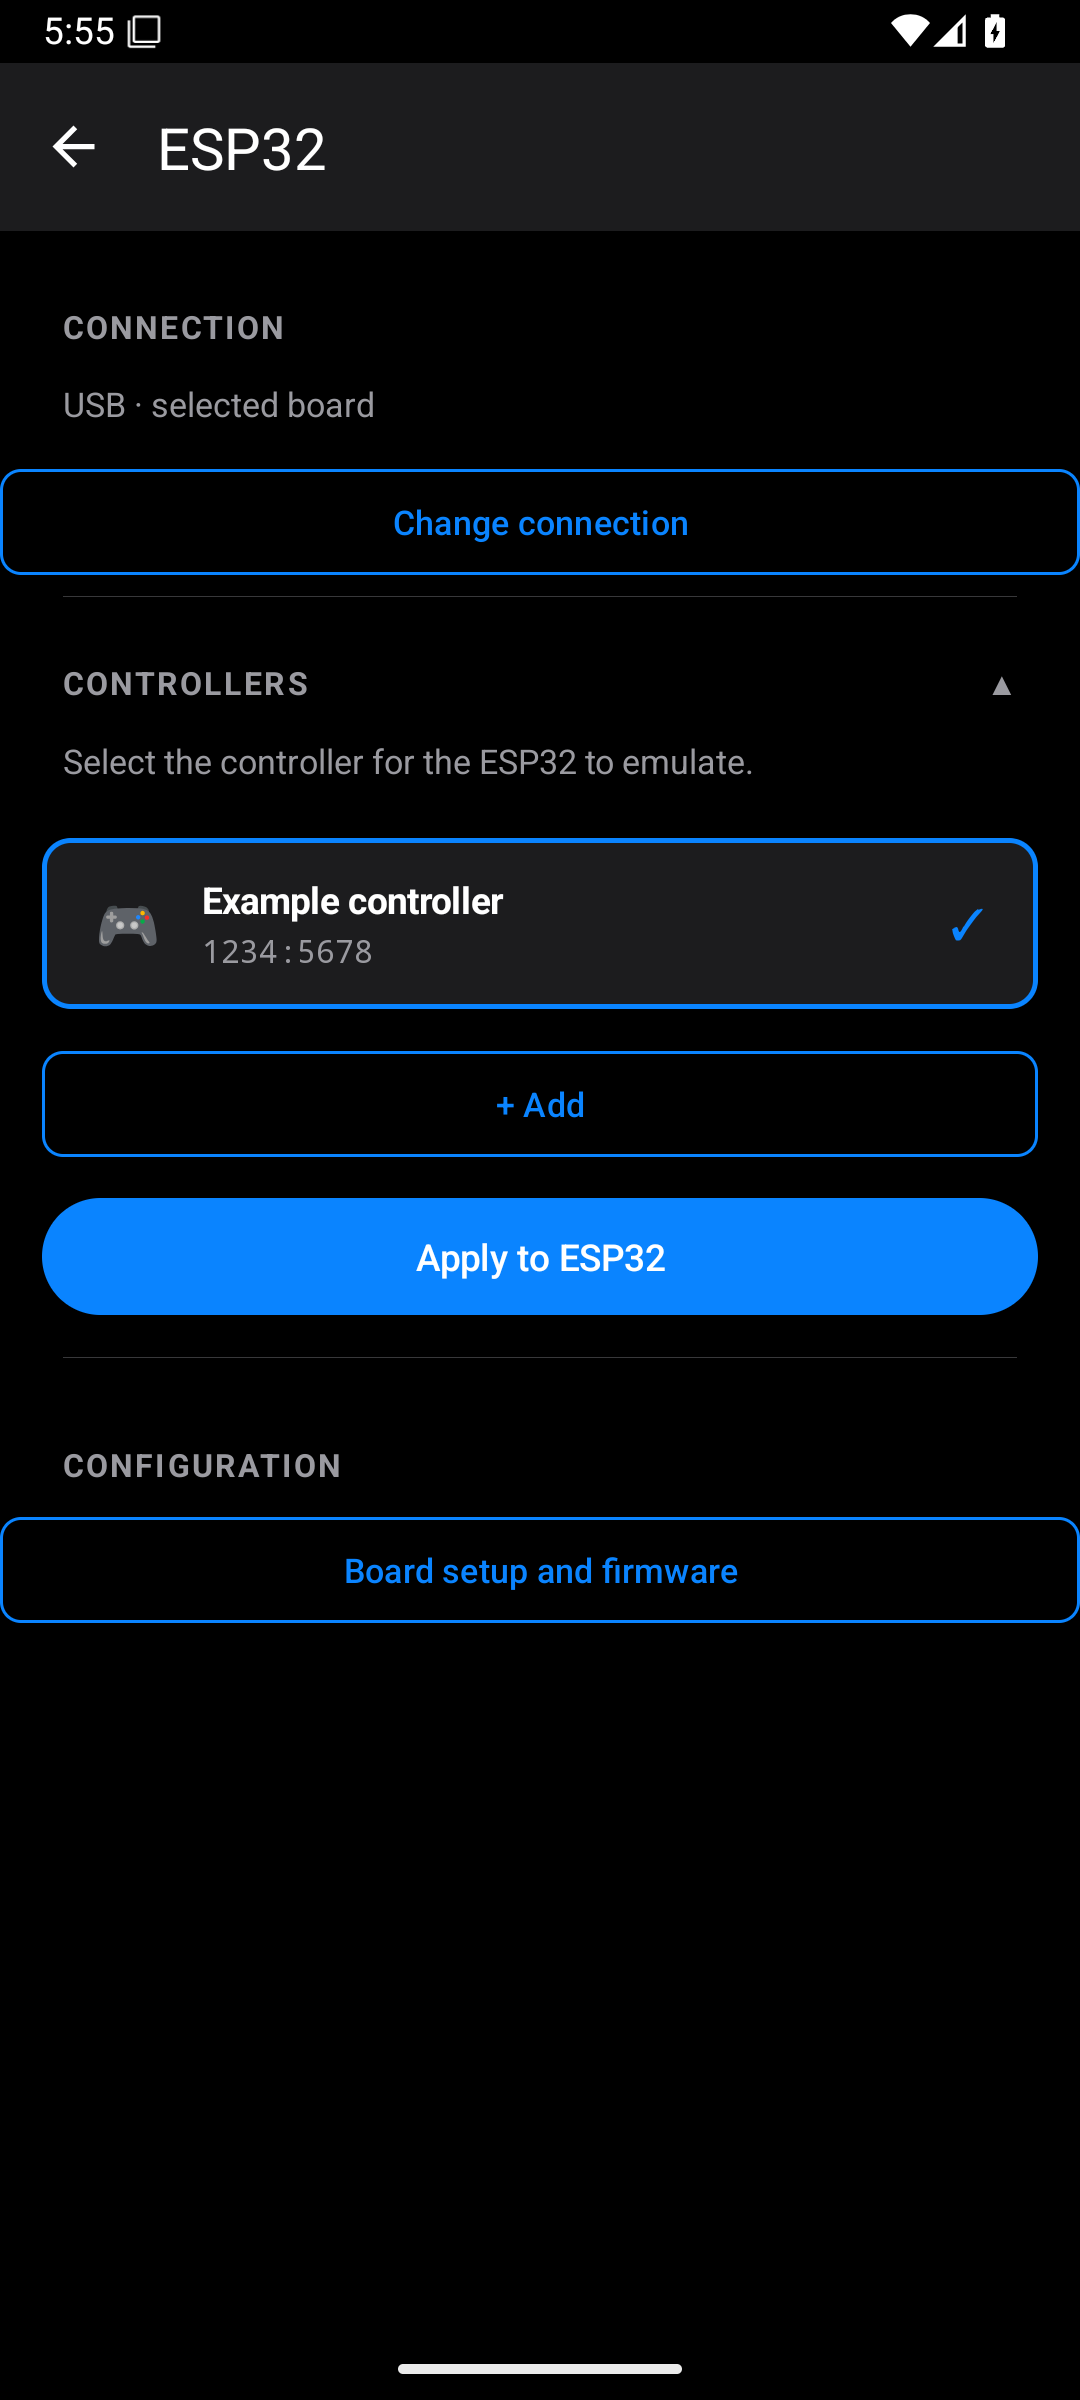
Use Change connection if the phone-to-board link changes. Board setup and firmware opens the board setup tools. Your input mappings do not need to be rewritten just because the bridge's address changes.
If you change the selected identity or replace the output board, apply and verify the identity again. The app can block starting while that configuration still needs to be applied.
Add or scan a controller identity
A controller identity is the name and identifying numbers the board should use. It is separate from your input mappings.
The identity form can include:
| Field | Meaning |
|---|---|
| Display name | The label you recognise in the app |
| Canonical or HID name | The controller name presented by the hardware |
| VID | Vendor ID, entered in the format requested by the form |
| PID | Product ID, entered in the format requested by the form |
| Controller MAC, where offered | A controller address for hardware that uses it |
Use the details for your actual supported controller setup. Copying a name or VID/PID does not guarantee that a console will accept the board. Some hosts need controller features or authentication beyond those fields.
To read an attached controller's details:
- Choose Scan USB Controller from the add-controller flow.
- Connect the physical controller to the phone through USB OTG.
- Allow USB access if asked.
- Check the detected device details.
- Tap Mirror Device, or the button naming the detected device.
- Return to the output's controller list, select the saved identity, and tap Apply to ESP32.
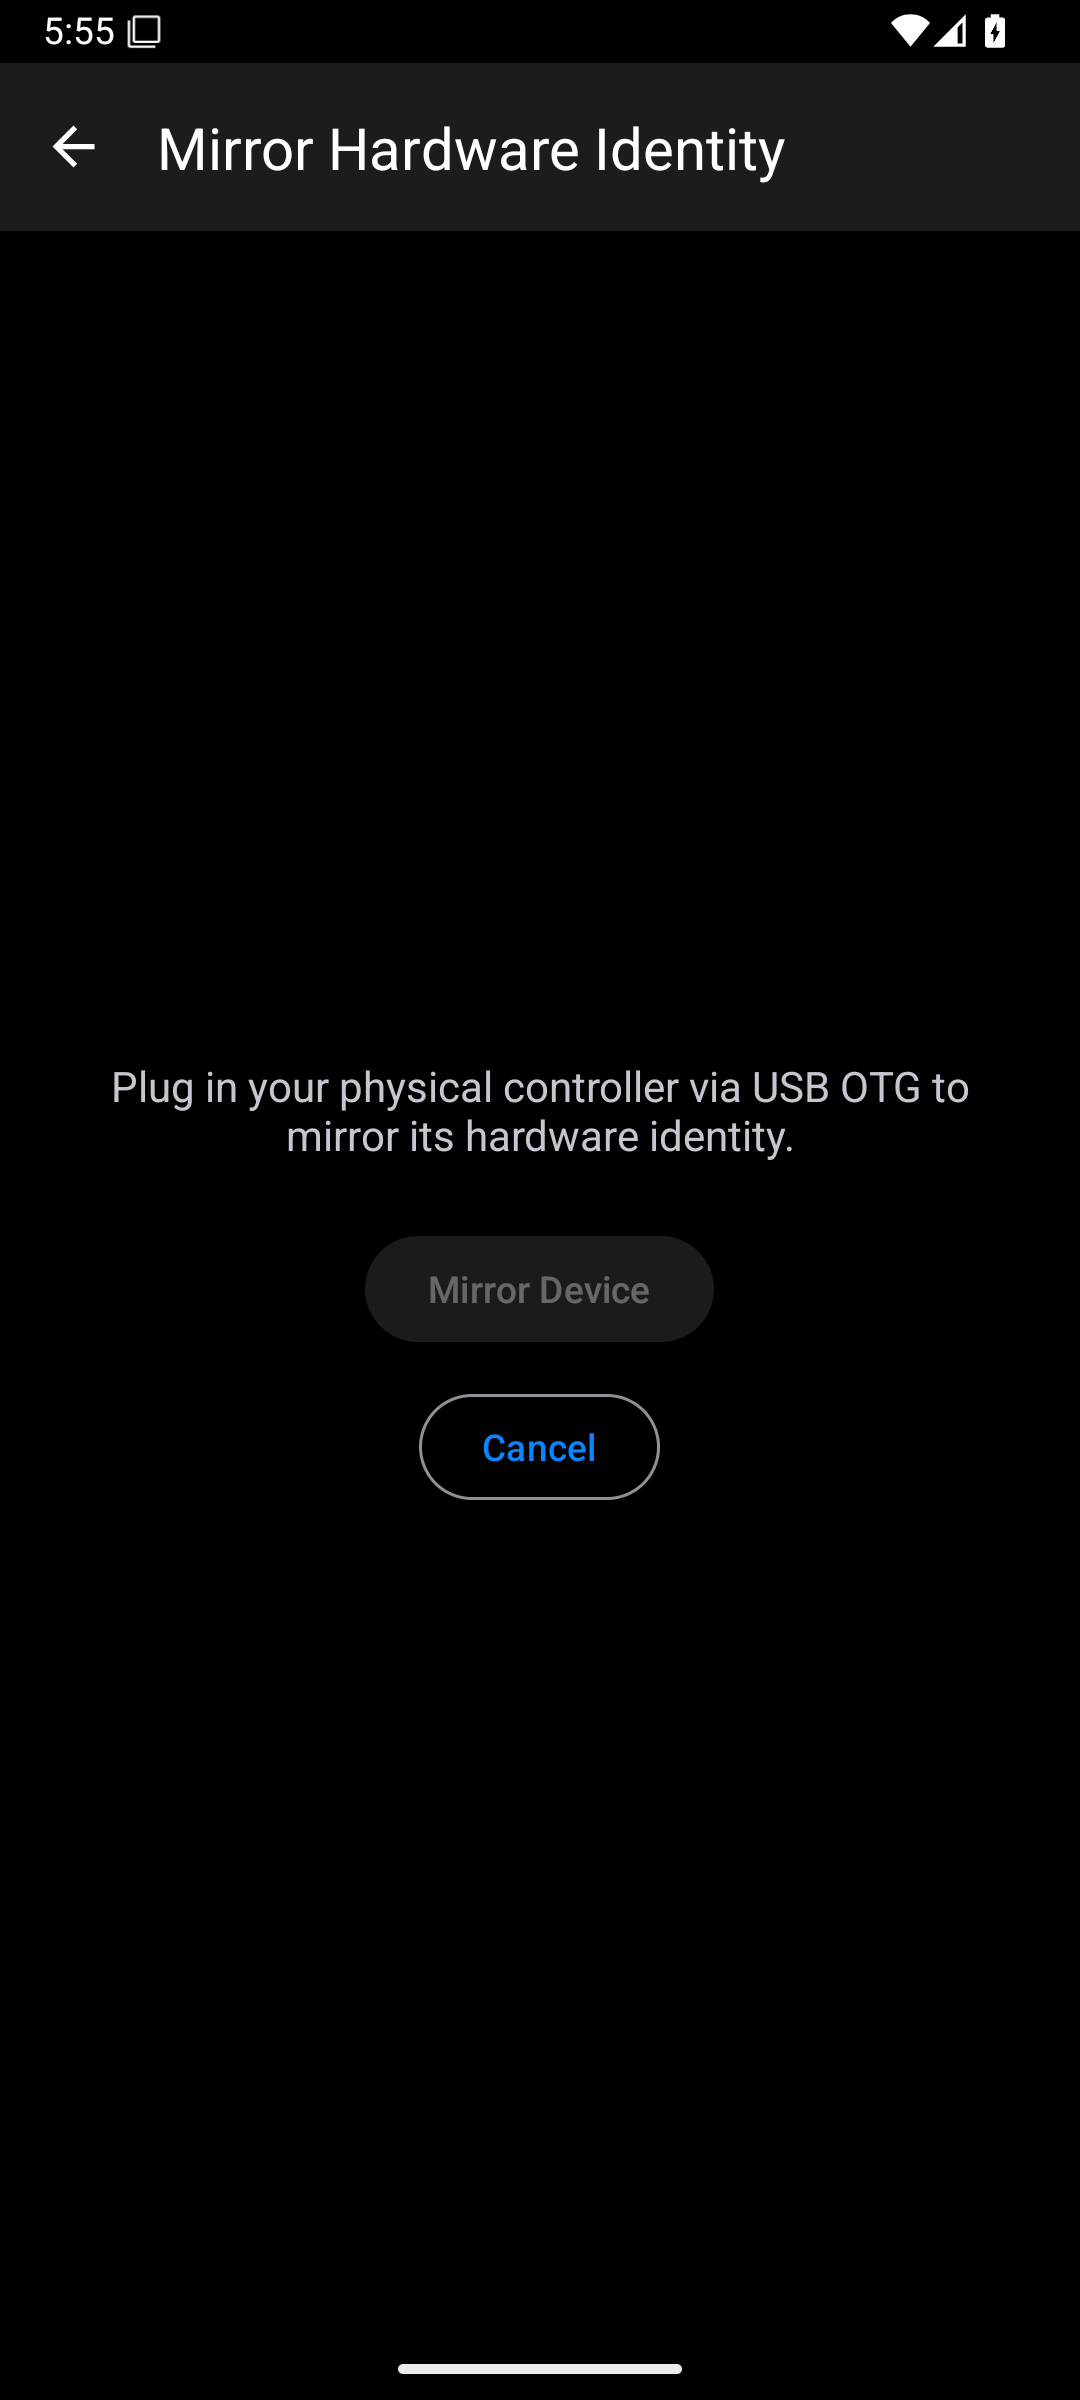
Scanning an identity does not add that physical controller as an input. Use + Input → Controller separately if you also want to read its buttons.
Pico W output
- Tap Add Output / Change Output → Pico W.
- Complete the board connection journey for the selected Pico W.
- Tap Save and choose controller.
- Open CONTROLLERS.
- Select a saved identity or tap Add Controller to create one.
- Tap Apply to Pico W.
- Wait for the board to respond and for the applied setup to be checked.
- Tap Confirm when the setup is ready.
- Connect the board to its receiving host using the supported board output method.
- Return home, configure inputs, and tap Start Mapping.
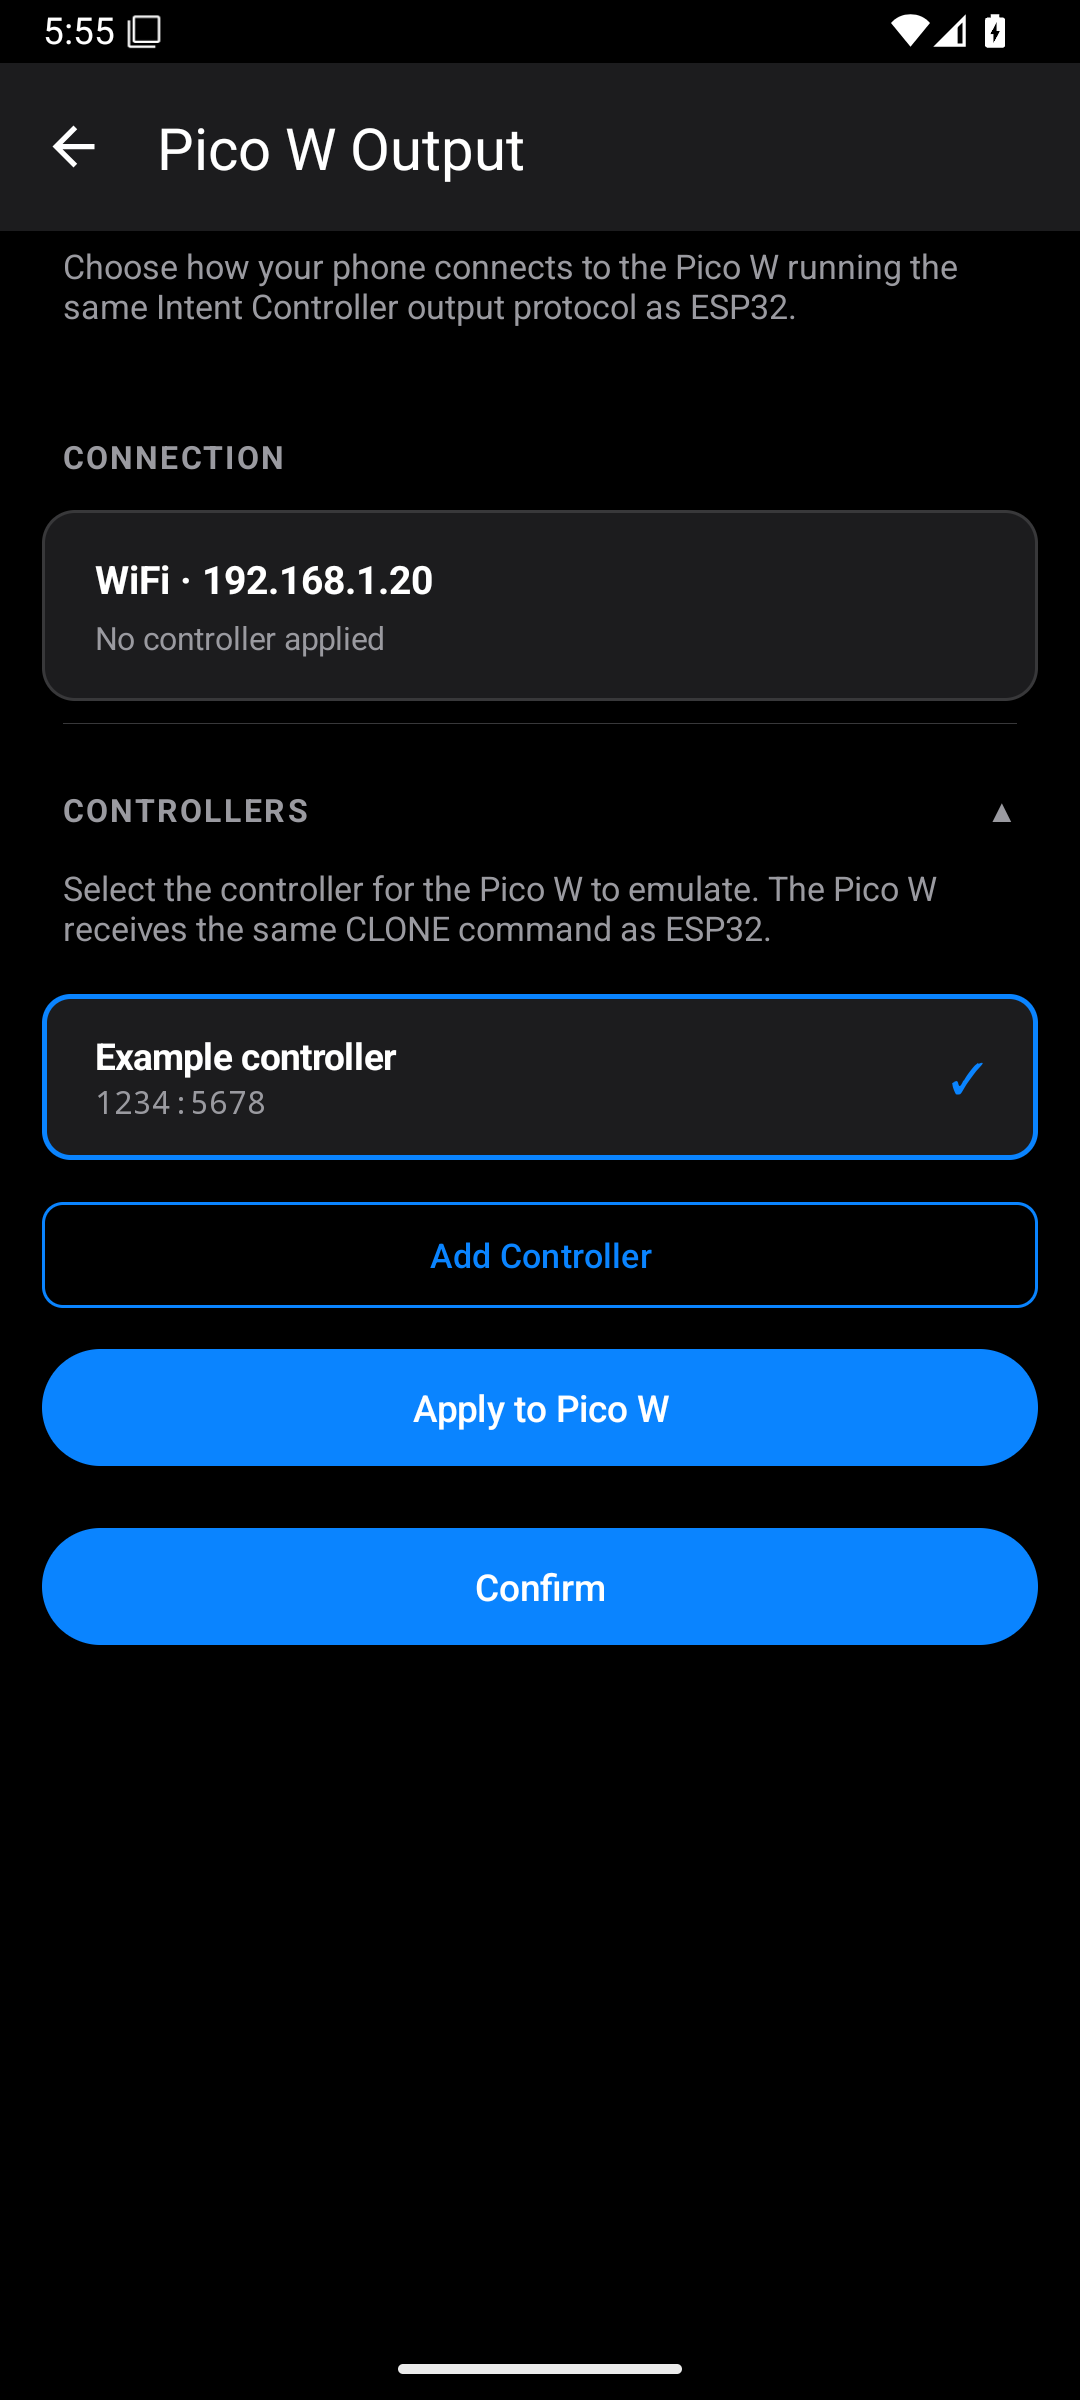
Use Change connection or the connection settings control offered on this screen to update the phone-to-board connection. The identity fields and scanning idea are the same as for ESP32. Confirming the phone's connection does not prove the receiving console accepts the controller; test that host connection too.
PS Remote Play output
This is Intent Controller's own Remote Play connection. It is marked BETA and is not Sony's app. The app currently offers PS5 and PS4 console choices in setup.
Prepare the console
For first pairing, put the phone and console on the same network and turn the console on.
- PS5: open Settings → System → Remote Play and turn on Enable Remote Play. To display a pairing code, use Pair Device. Some console or app text calls this Link Device.
- PS4: open Settings → Remote Play Connection Settings, turn on Enable Remote Play, and use Add Device to display the code.
These console menu paths are described in PlayStation's Remote Play settings guide. Console wording can change with system updates. The app's pairing screen currently shows PS5-style instructions, so use the PS4 path above if that is your console.
Step 1: find the console
- Tap Add Output / Change Output → PS Remote Play.
- Read the app's screen-and-audio notice. Tap I Understand to continue when you have read it.
- Tap Find My Console.
- Select your console from the results.
- Tap Next.
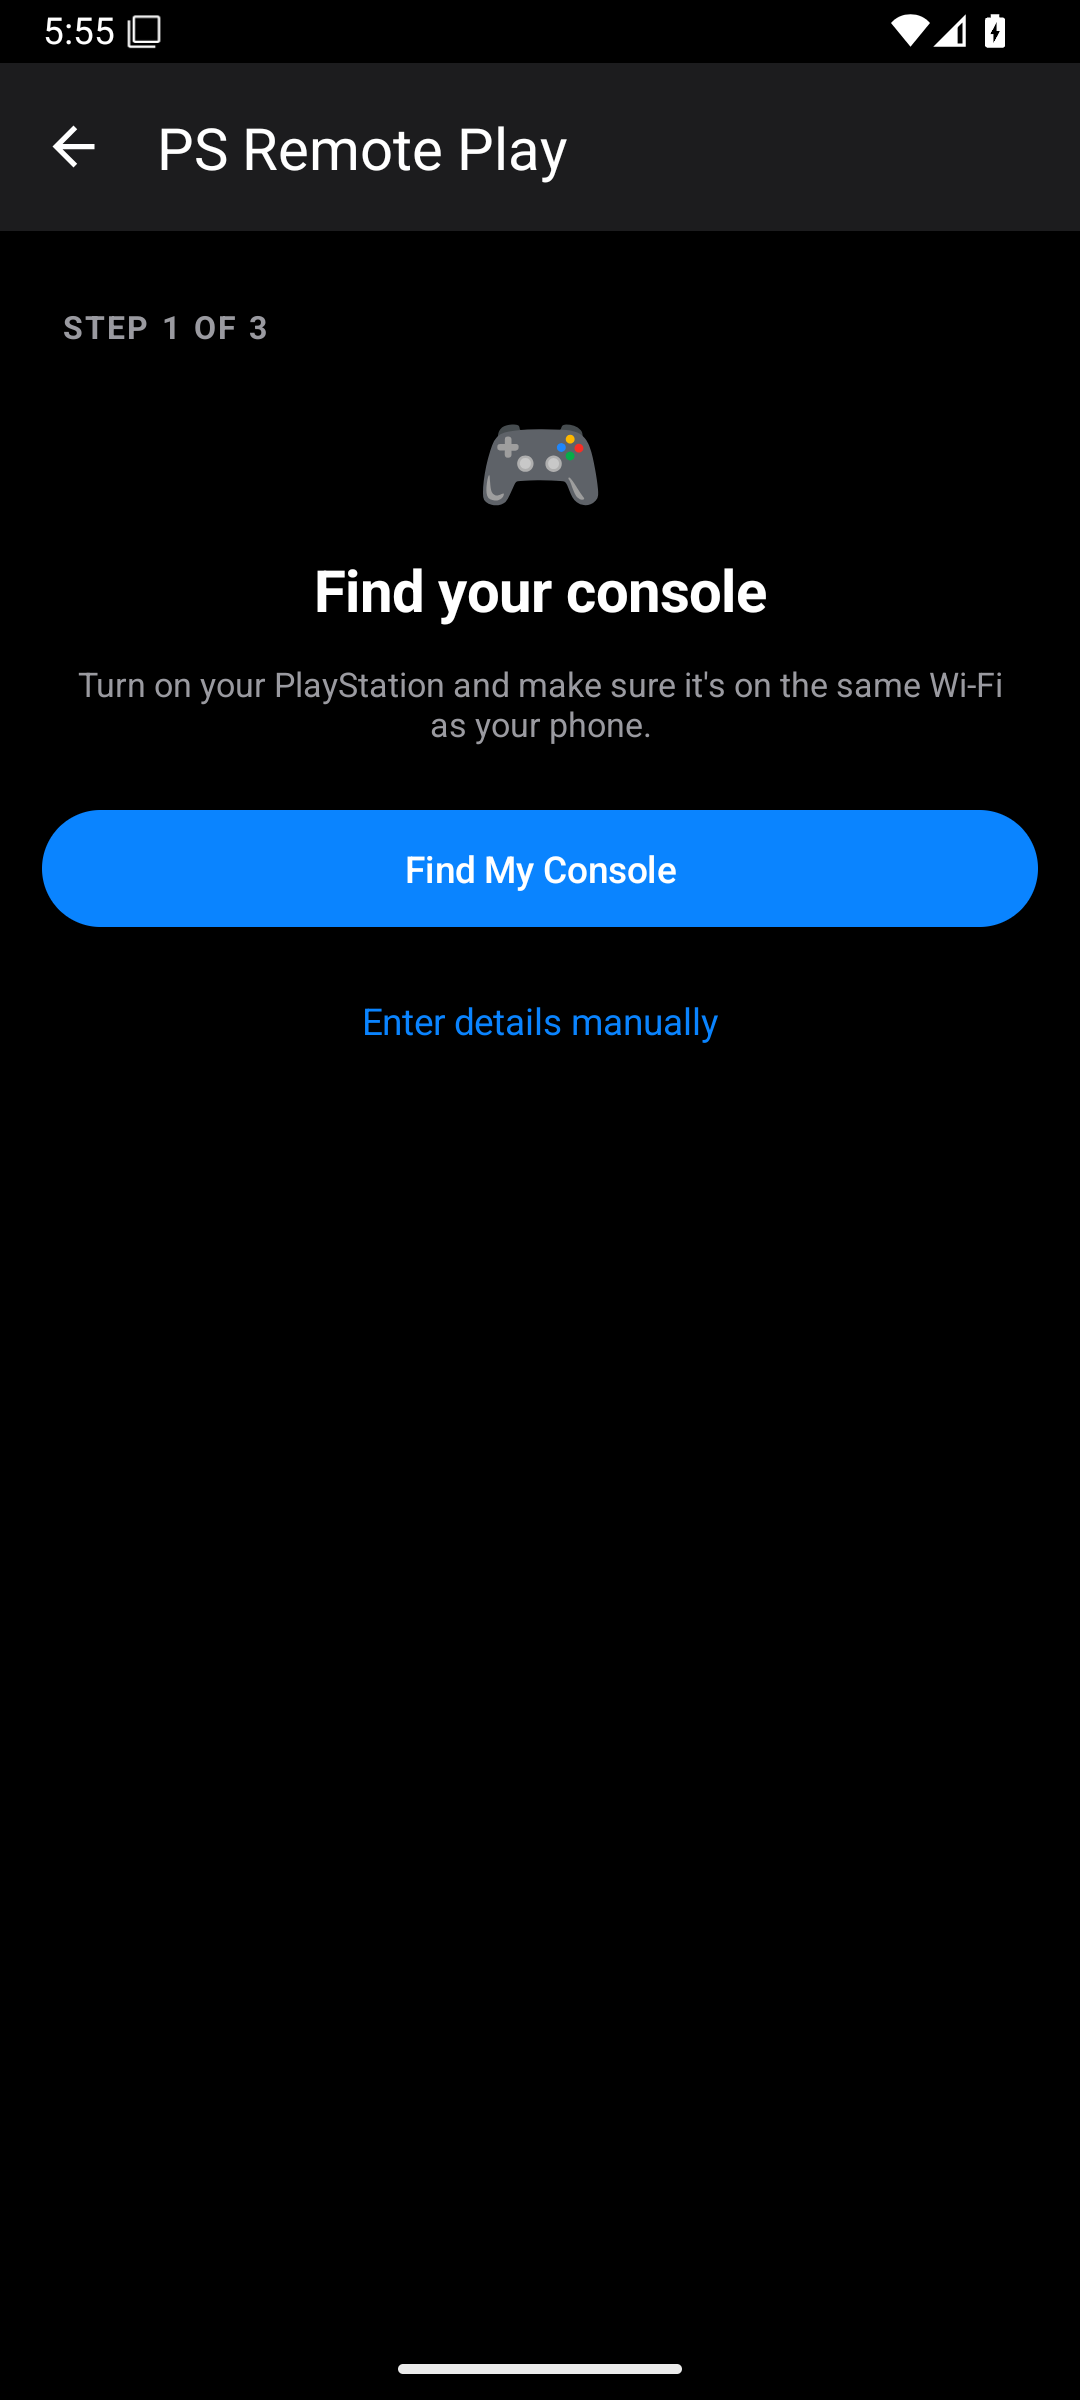
If the console is not found, use Search again or Enter details manually. In manual setup, choose PS5 or PS4 and enter the console's IP address. Find the address in the console's network information. Then tap Next.
Step 2: enter the account ID
- In Your Account ID, enter the PSN account ID for the profile you are pairing on the console.
- This is an account identifier, not your email, password, or display name.
- If you do not know it, Find a lookup site opens a search for account-ID lookup tools.
- Use a service you are comfortable using. The app describes username-based lookup; it does not need your password for this field.
- Copy the returned ID and paste it into Account ID. The app accepts the supported numeric or encoded forms described on screen.
- Scroll down if needed and tap Next.
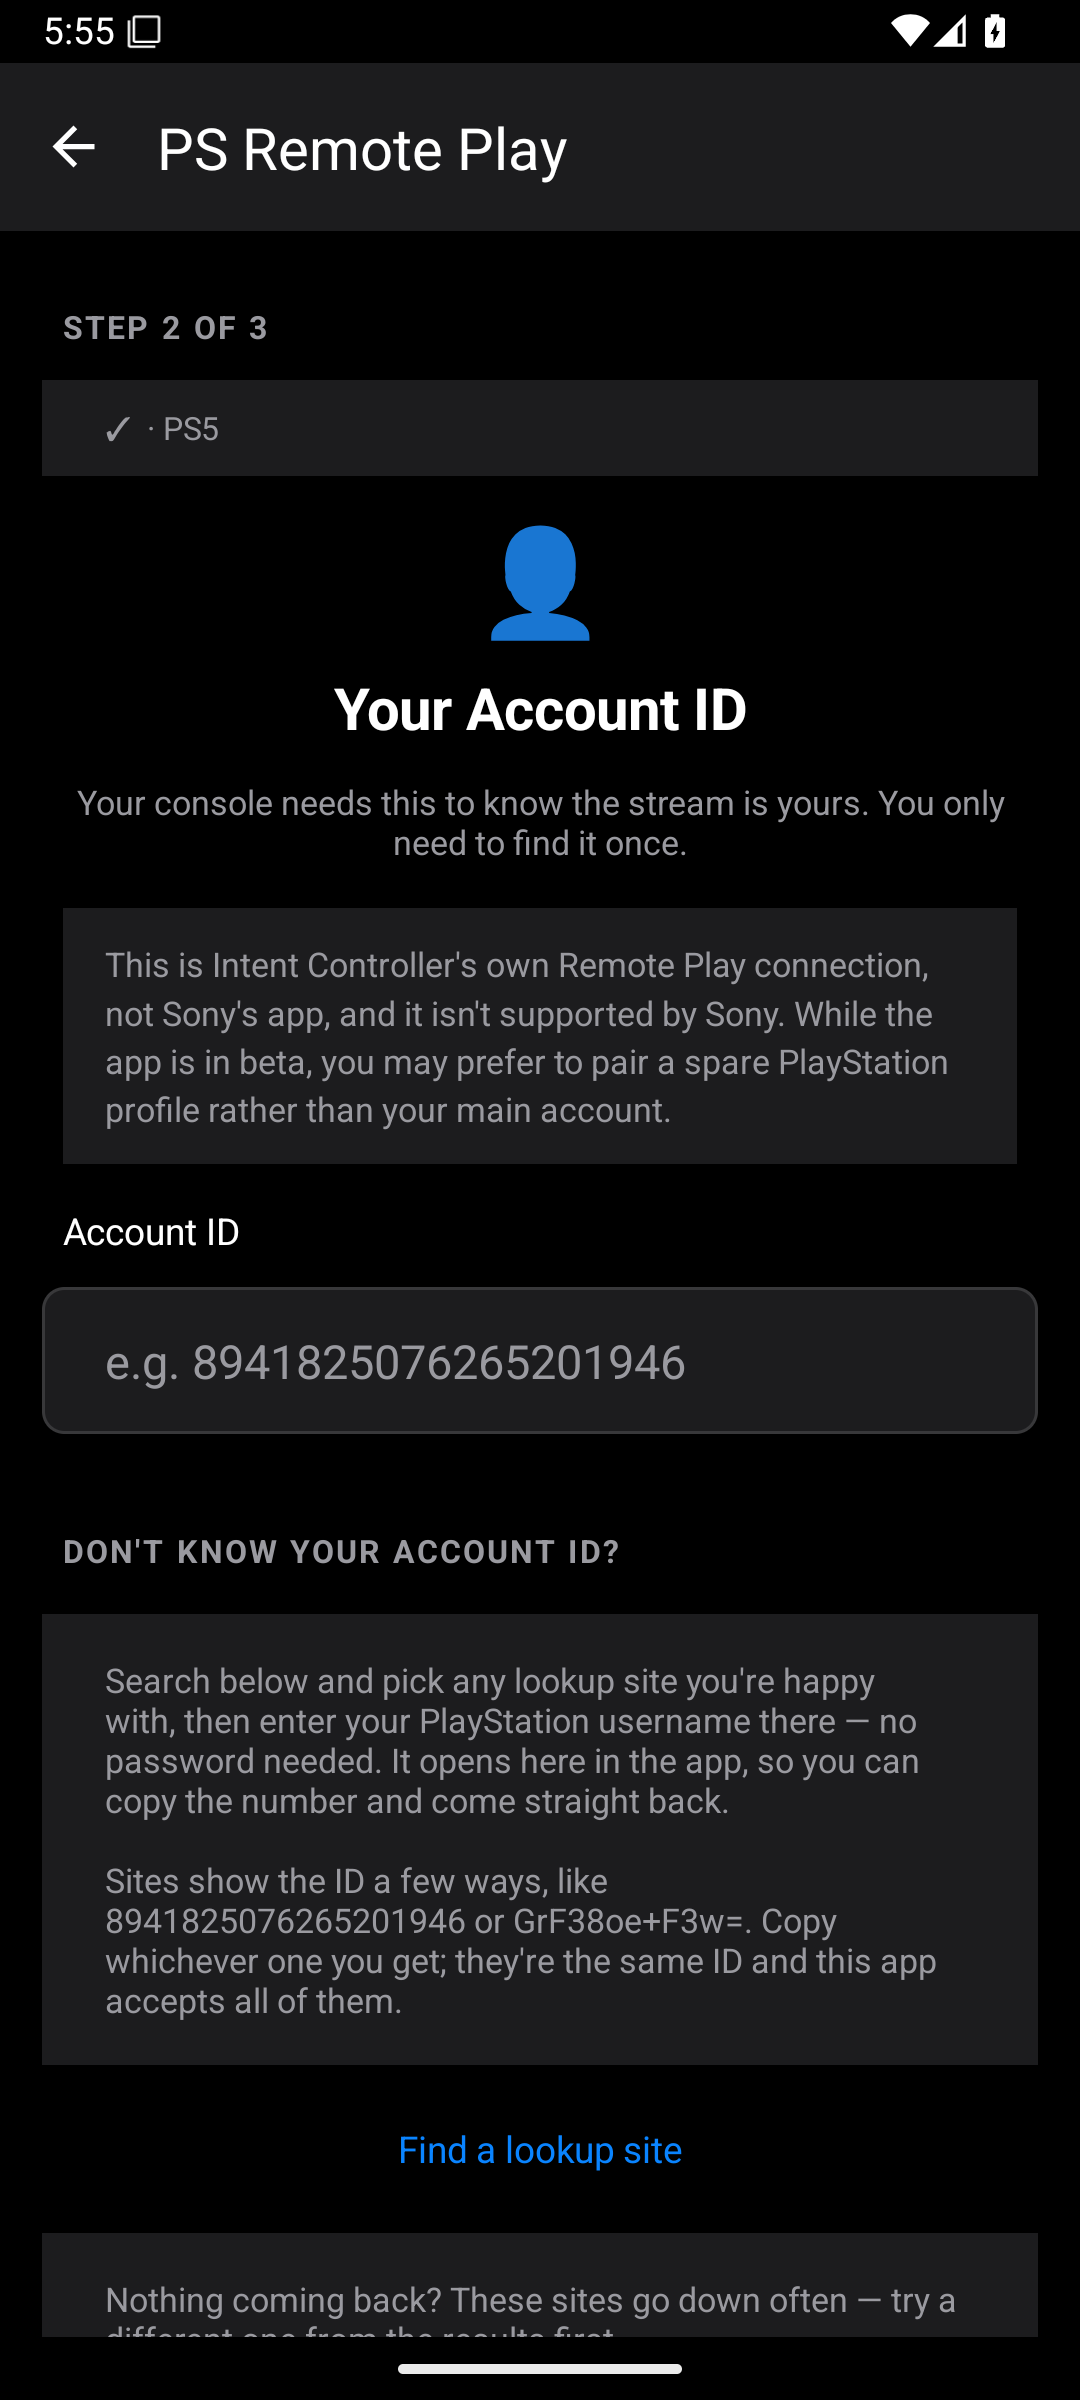
The screen suggests using a spare PlayStation profile while this connection is in beta. Follow that option if it suits your setup.
Step 3: pair
- Display the pairing code on the console using the console menu above.
- In the app, tap Pair with Console.
- Enter the current eight-digit PIN when asked.
- Tap Pair.
- Wait for the success message.
- Tap Finish.
- Return home, configure inputs, and tap Start Mapping.
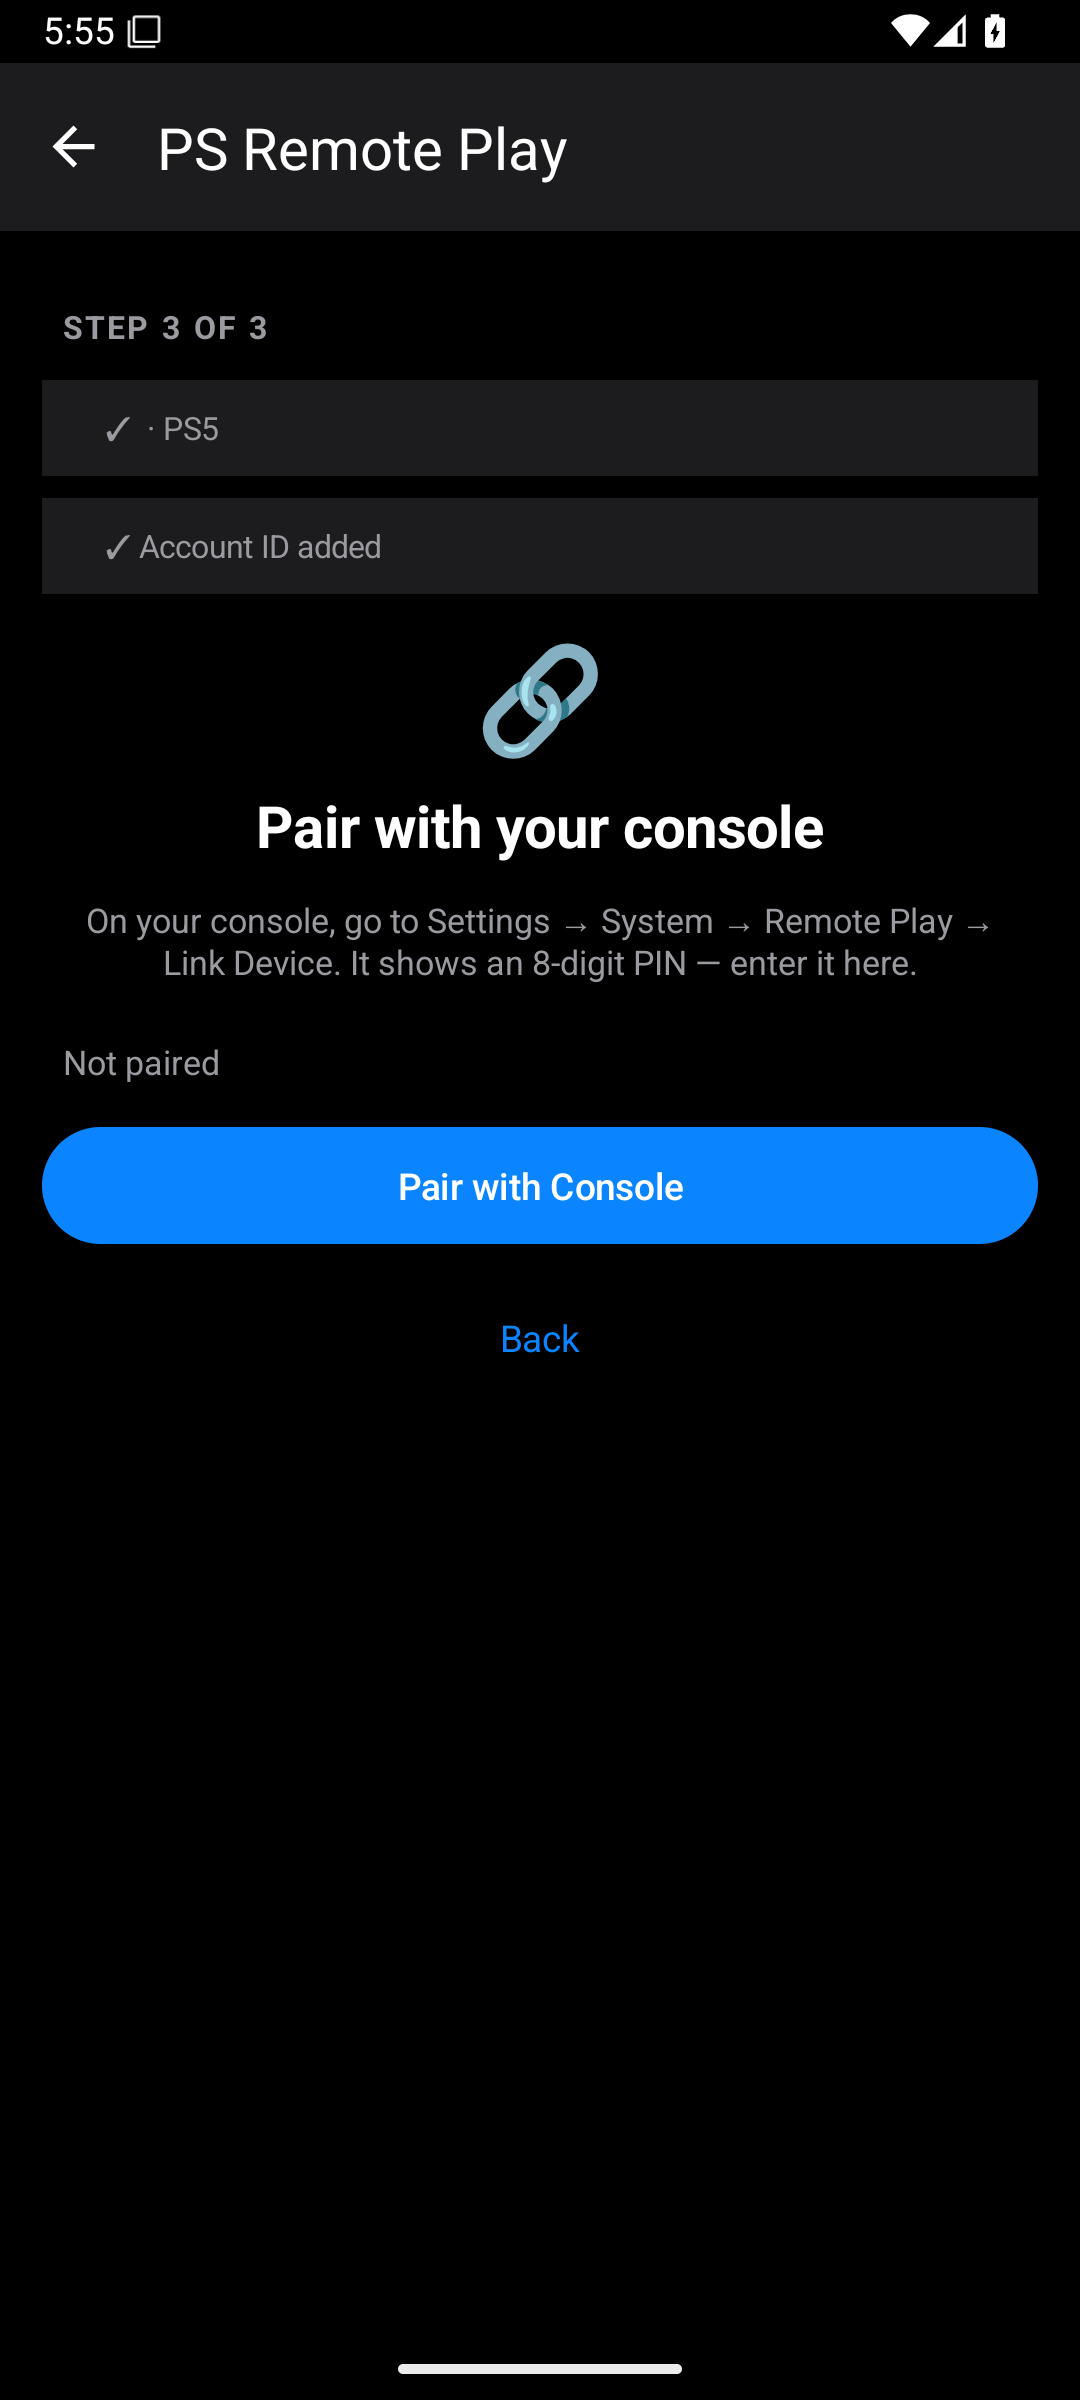
For later sessions, use the saved console and account registration. You normally do not enter a new PIN each time. If the console's address changes or registration no longer works, reopen output setup and repair the connection or pair again.
The app connects directly to the console; installing Sony's Remote Play app is not a step in this setup. The destination uses the app's own session. Motion controls are supported on this output when the input provides them.
Xbox Remote Play output
This output is also BETA. It uses Microsoft sign-in and the consoles linked to your account. The connection uses Microsoft's services, so internet access is needed even though some selection text refers to a local network.
Prepare your Xbox with remote features enabled. On Xbox One or Series consoles, look under Settings → Devices & connections → Remote features for Enable remote features. Use Xbox's Remote Play setup support if your console's menu differs. Microsoft's Remote Play page confirms the need for a supported console, remote features, a Microsoft account with an Xbox profile, and an internet connection.
- Tap Add Output / Change Output → Xbox Remote Play.
- Read the screen-and-audio notice and tap I Understand when ready.
- Tap Sign in with Microsoft.
- Complete the Microsoft sign-in page with the account linked to your console.
- Return to the app and check the signed-in account.
- Tap Next.
- On the console-selection step, choose the Xbox you want to use. Check the name if there is more than one.
- Tap Finish.
- Return home, configure your inputs, and tap Start Mapping.
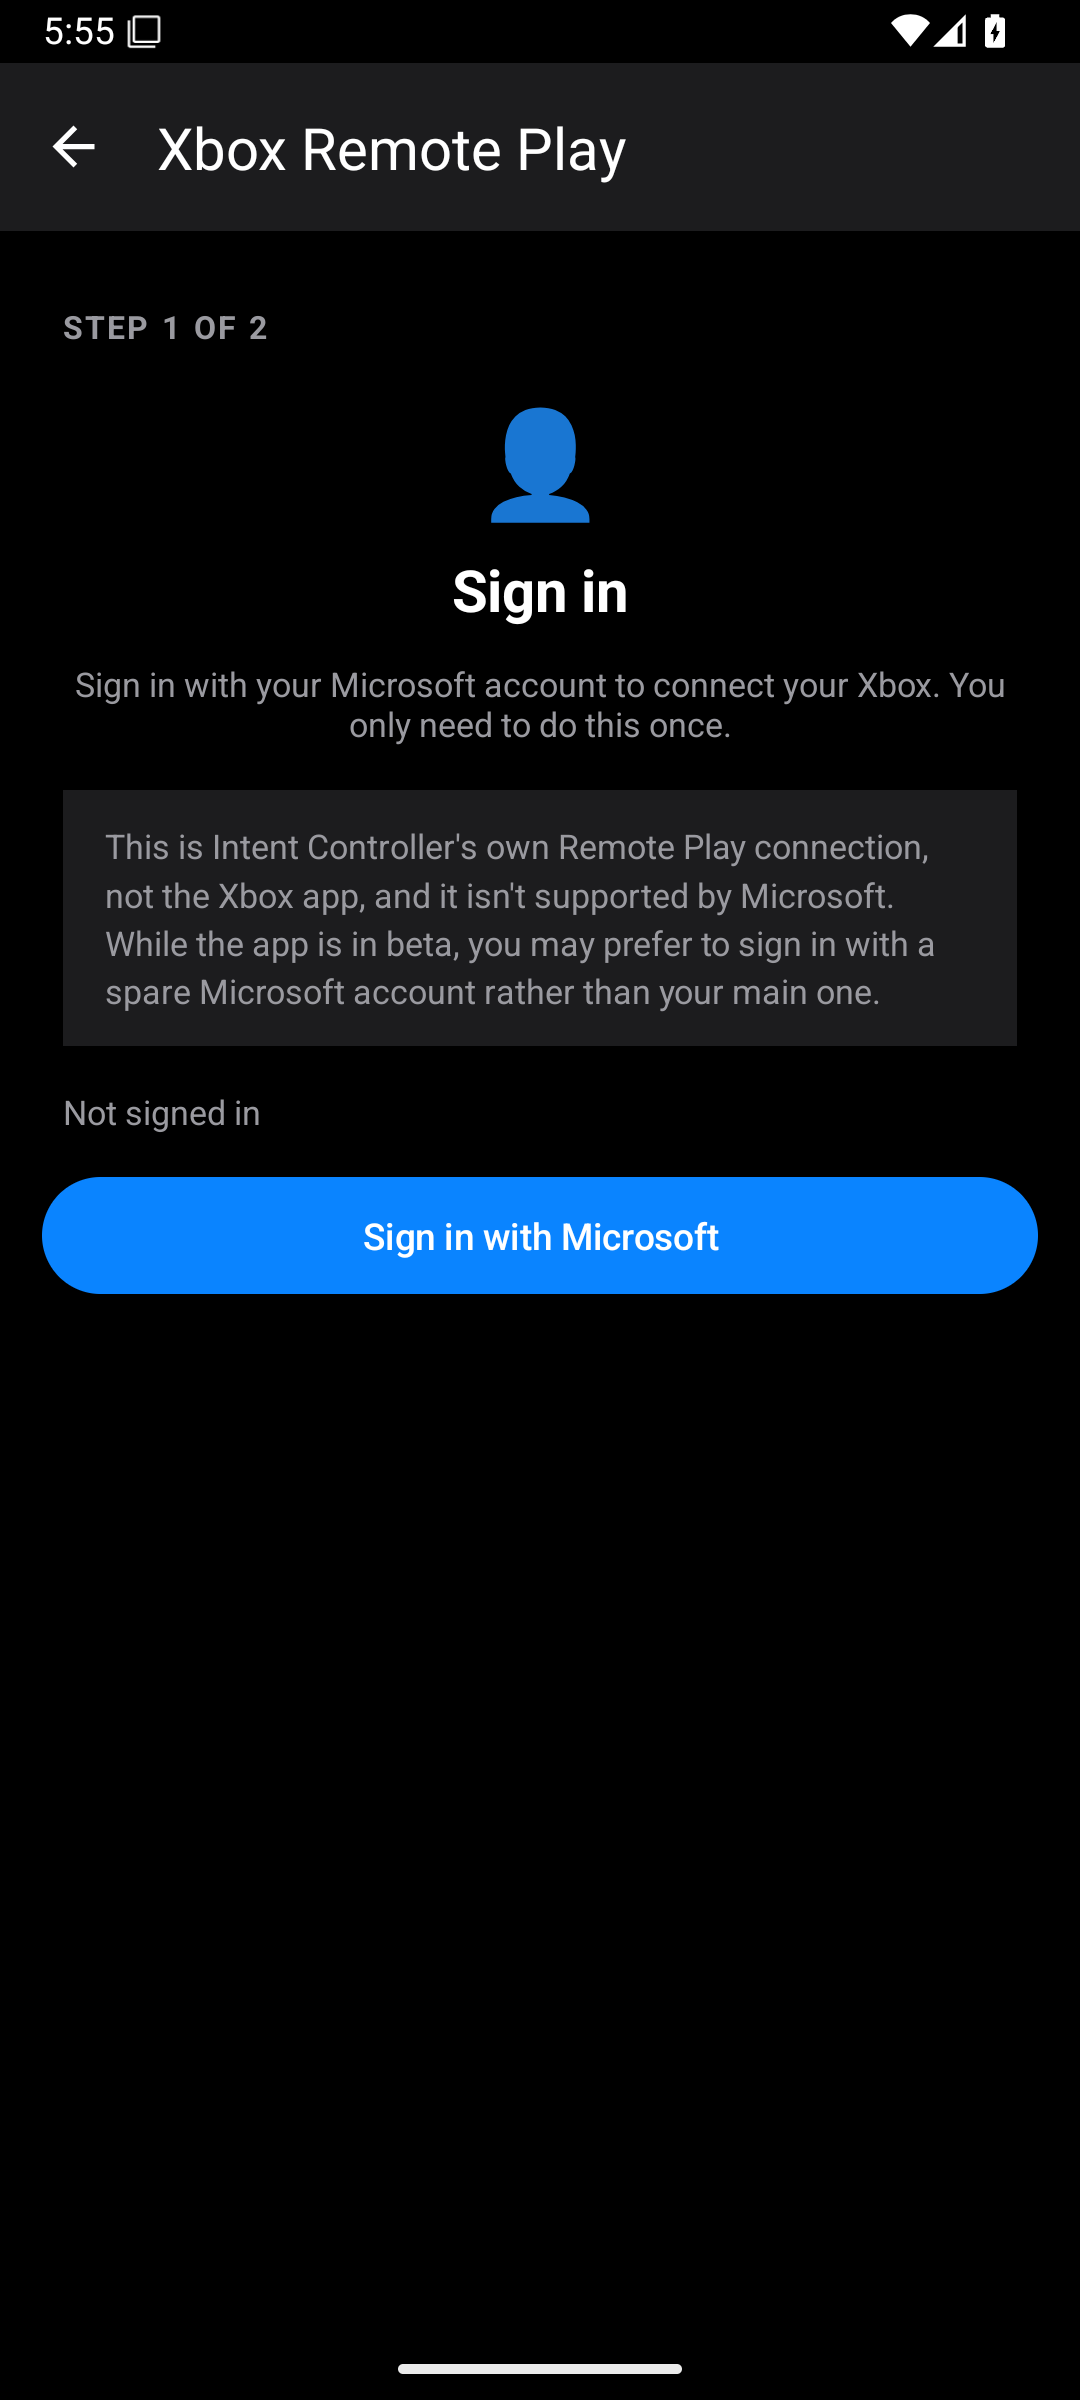
Use Remove account if you need to sign out or switch Microsoft accounts. If sign-in expires, sign in again.
If the app says sign-in is unavailable in this build, that build cannot complete this output setup. Use a build with Xbox sign-in configured. Re-entering a Wi-Fi password will not fix that message.
This connects to your own console. It is not a cloud-gaming subscription setup, and selecting it does not grant access to games you do not own or have access to.