
Controls shared by the mapping editors
The editors use cards for mappings. A card can be folded to keep the screen short.
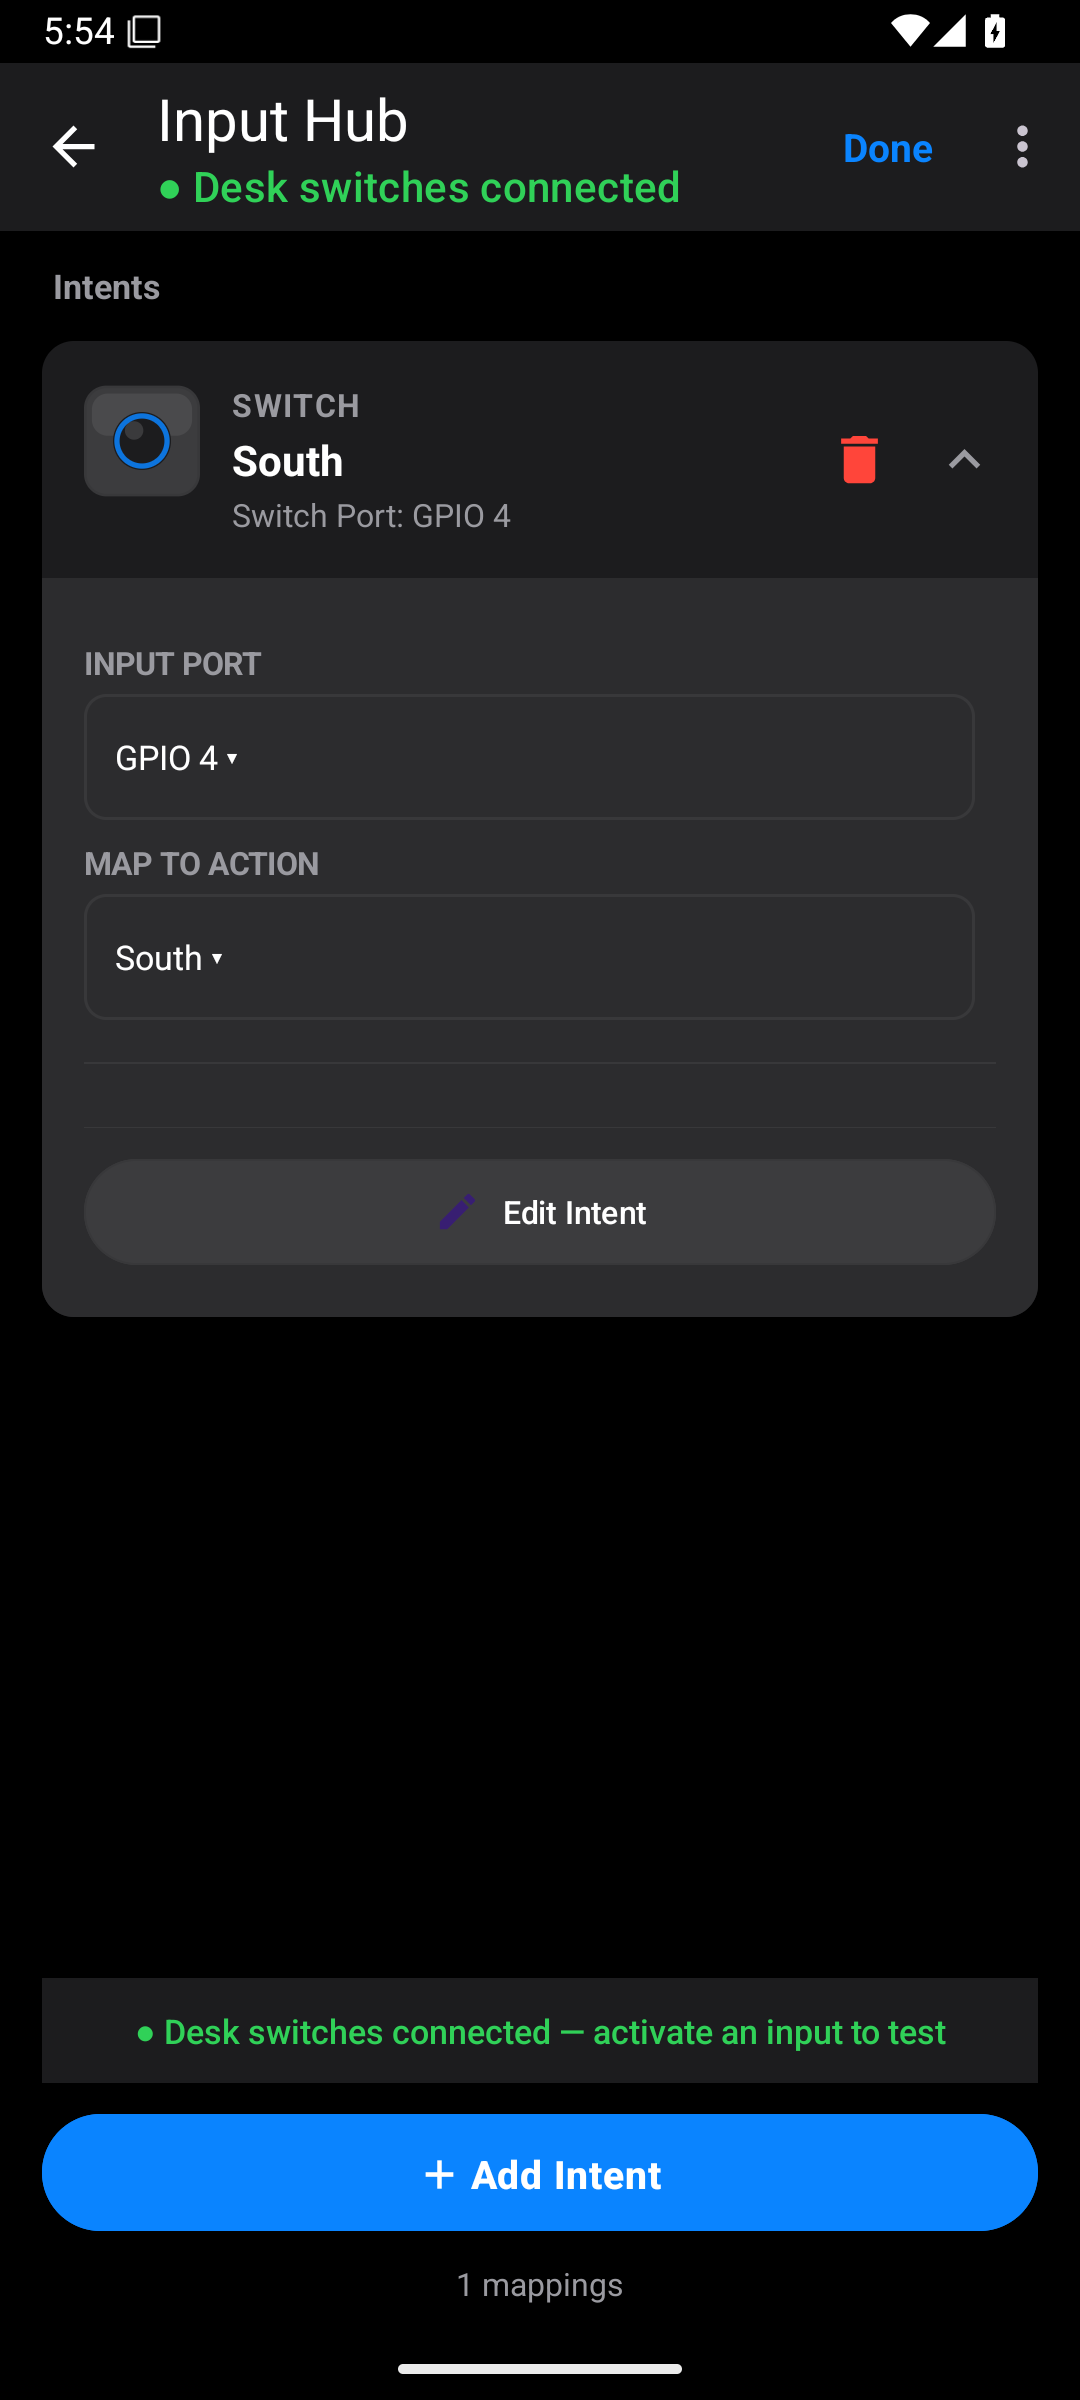
- Tap a card or its down arrow to open it.
- Choose the source: the key, button, port, gesture, or axes you will use.
- Choose the action or output target.
- Use the live feedback to check the source.
- Tap Edit Intent to change timing, add more outputs, or create a sequence.
- Tap Save & Close in the Intent editor.
- Tap Done in the input editor when finished.
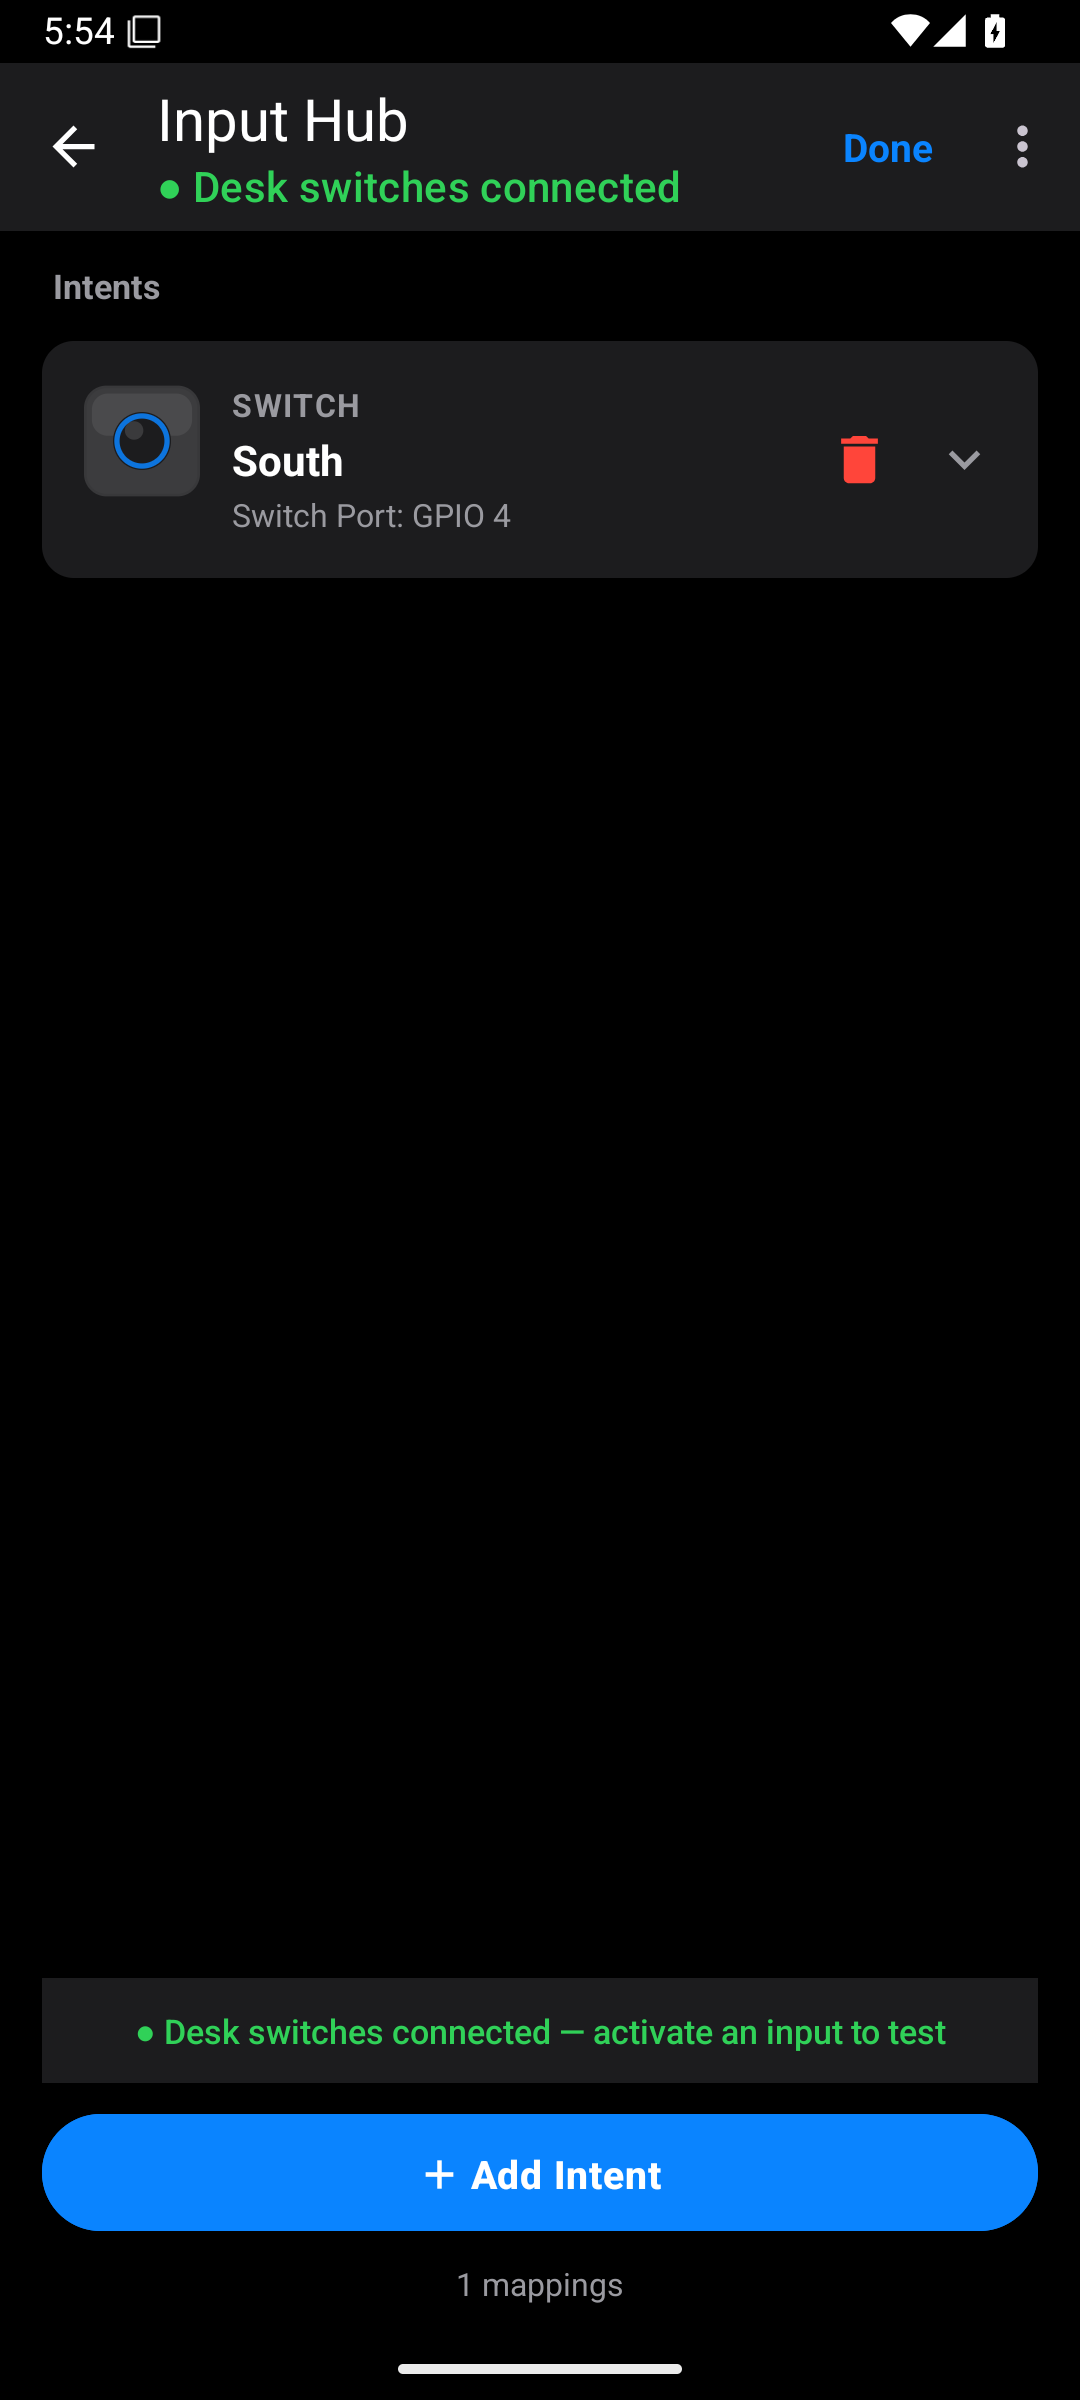
Use + Add Intent to add another mapping. The red bin deletes that mapping. It does not remove the whole input device.
If Reorder is offered inside an editor, it changes the order of that input's mappings. Use the arrows and finish with Done. Earlier mappings get priority when there is a conflict.
Some setup routes offer Use defaults, Create your own, or a saved-profile choice. Defaults are a starting point. Review the source and target before relying on them.
Controller input
Use Controller for a normal gamepad that Android recognises.
- Connect the controller by USB, or pair it in Android's Bluetooth settings.
- On the app home screen, tap + Input → Controller.
- Choose the controller in Select Controller.
- The app creates starter gamepad mappings. Return to the home screen and tap the controller card to edit them.
- On Controller Mapping, press a button and watch the detection or feedback area.
- Open the mapping card for the control you want to change.
- Change its input button and Map to Action, or its axis and stick target.
- Use Edit Intent for combinations and timing.
- Tap Done.
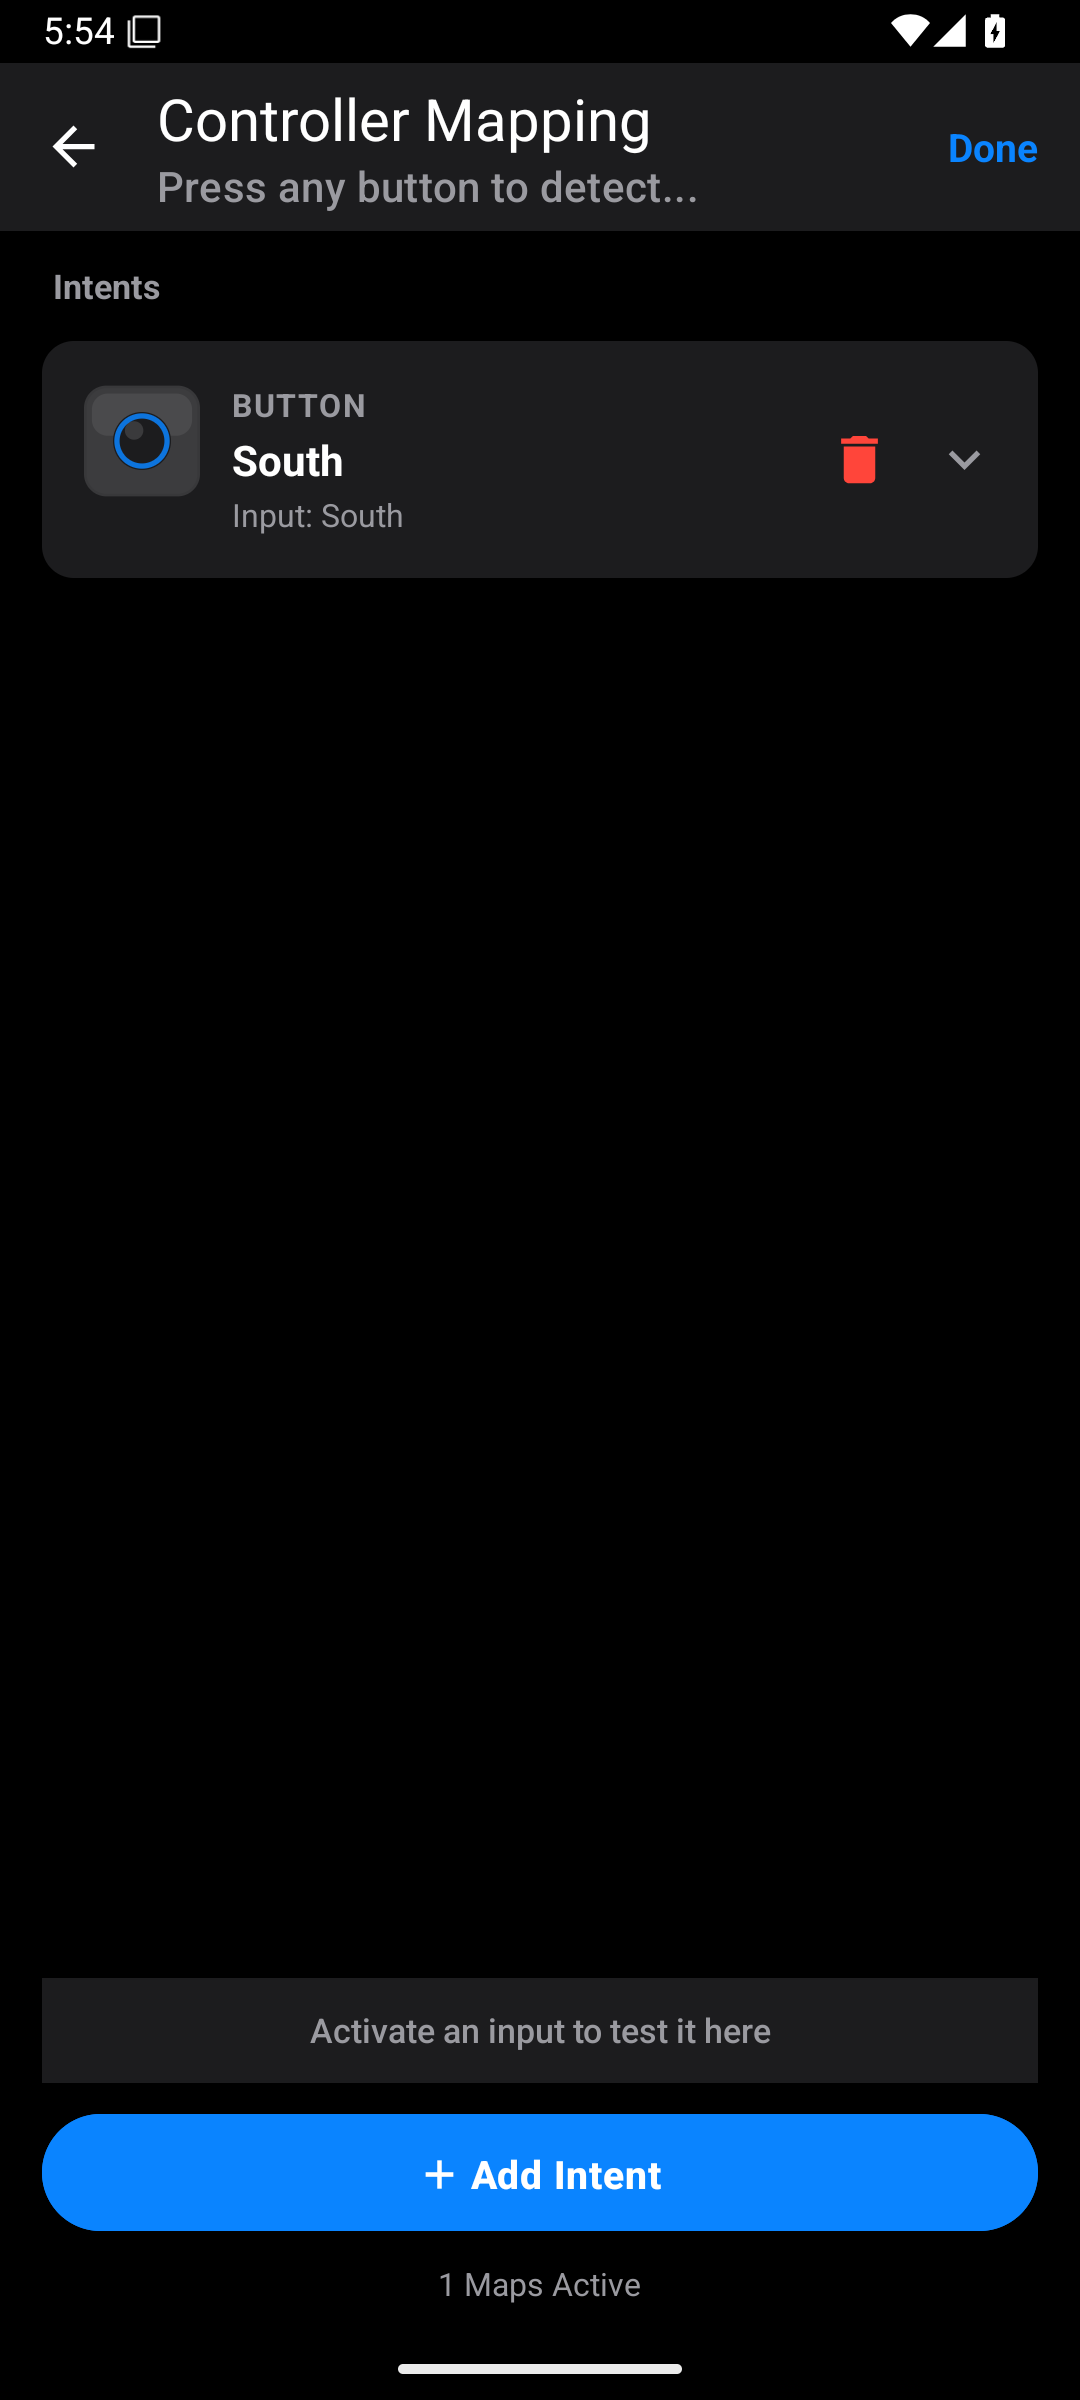
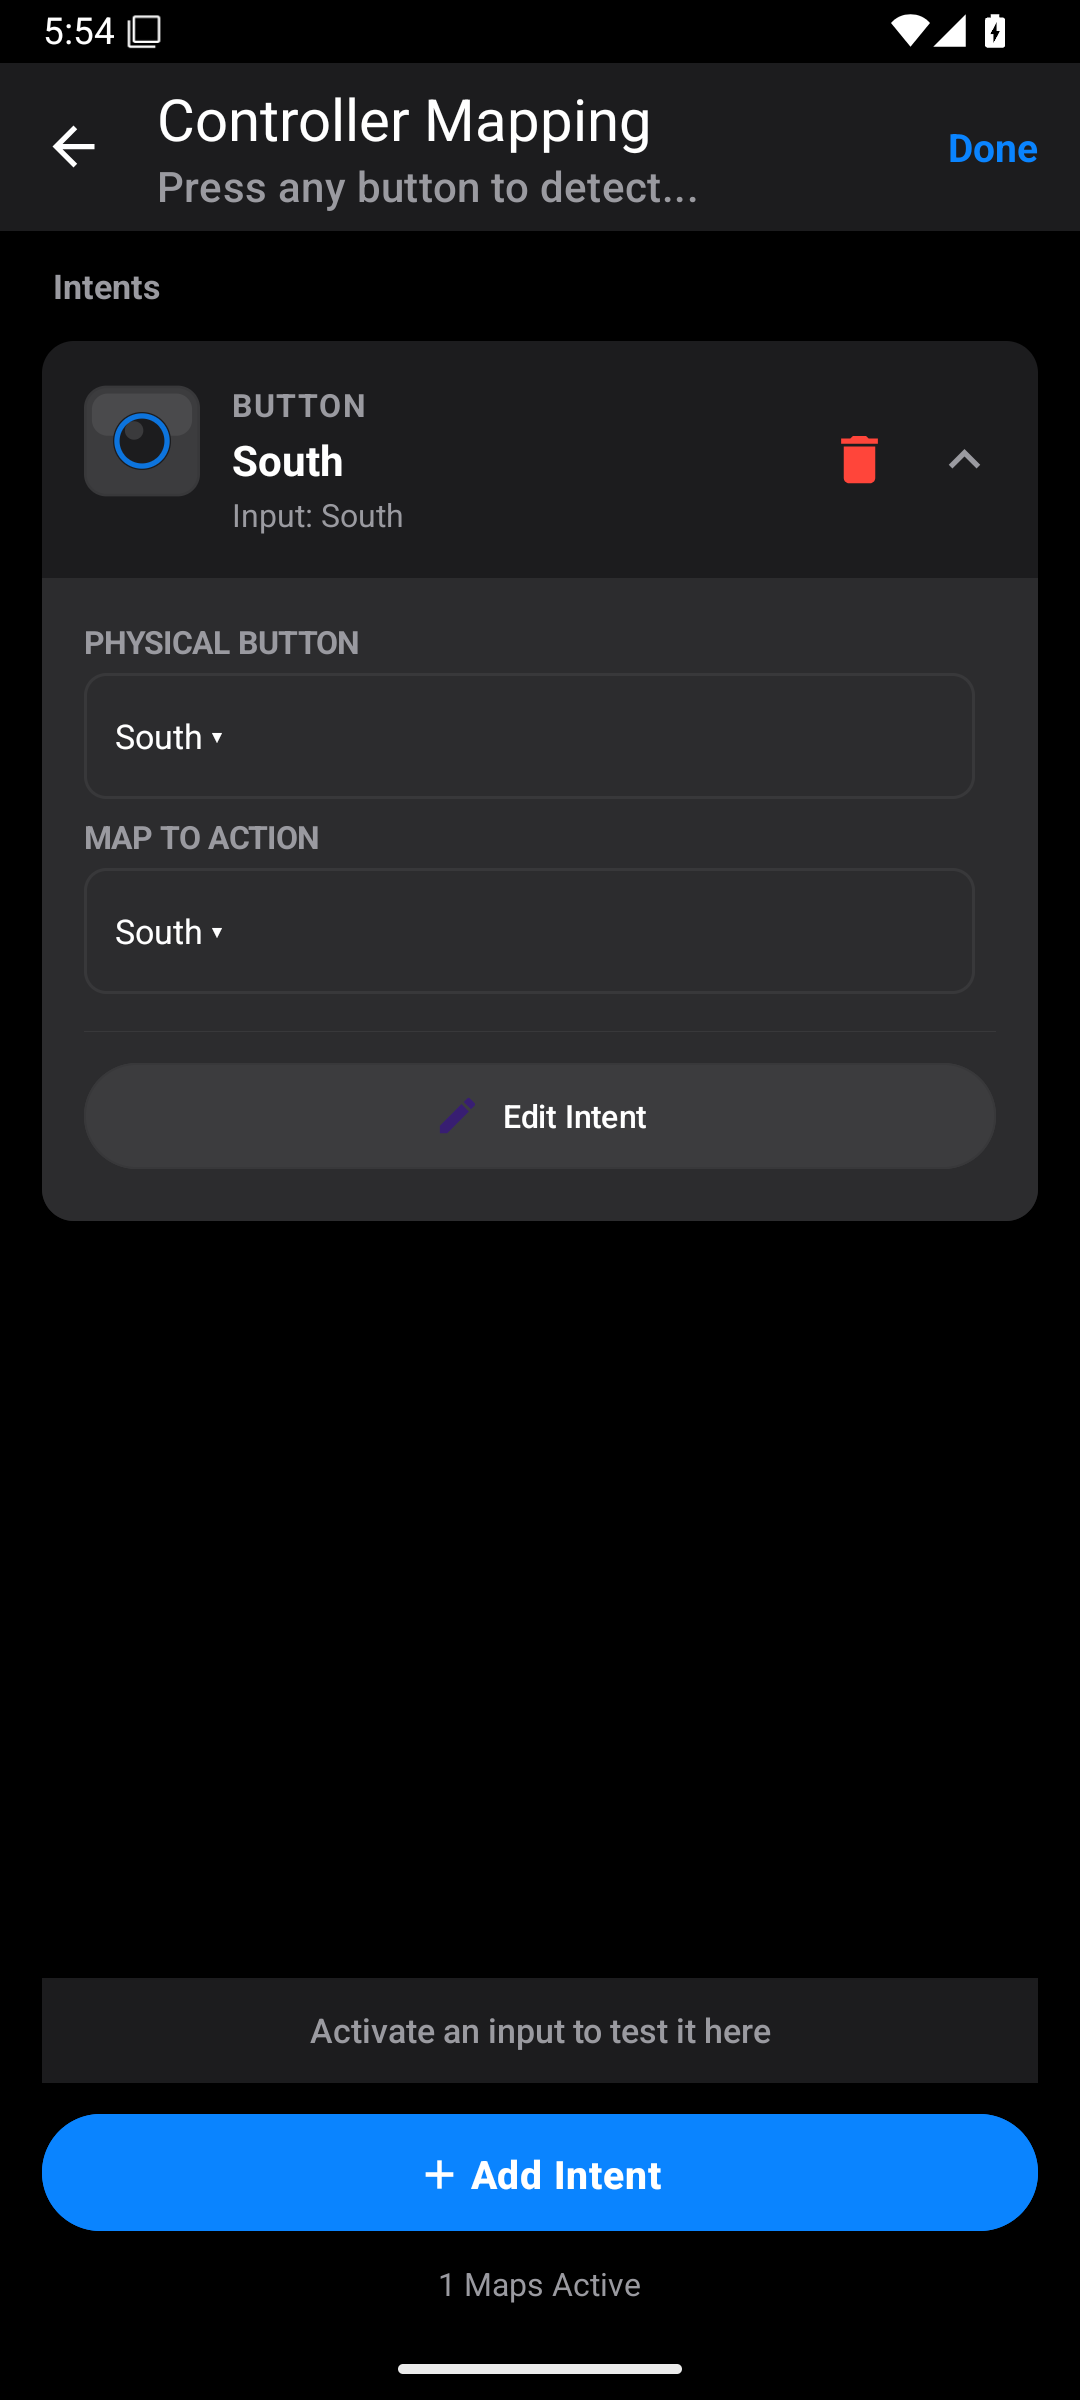
Switch is useful for buttons. Axis is useful for a trigger. Dual Axis joins X and Y movement to one target stick.
If the selector says no controller was found, connect it to Android first. Saving a controller identity for a board output does not add that controller as an input.
Keyboard input
Use Keyboard for an external USB or Bluetooth keyboard. The phone's typing keyboard is not the same input device.
- Connect or pair the keyboard with Android.
- Tap + Input → Keyboard.
- Choose it in Select Keyboard.
- On Keyboard Mapping, press a key and check the feedback.
- Open a mapping card.
- Choose the source key. If Detect is shown, tap it and press the key you want.
- Set Map to Action. For example, choose SPACE → South.
- Add other keys with + Add Intent.
- Tap Done.
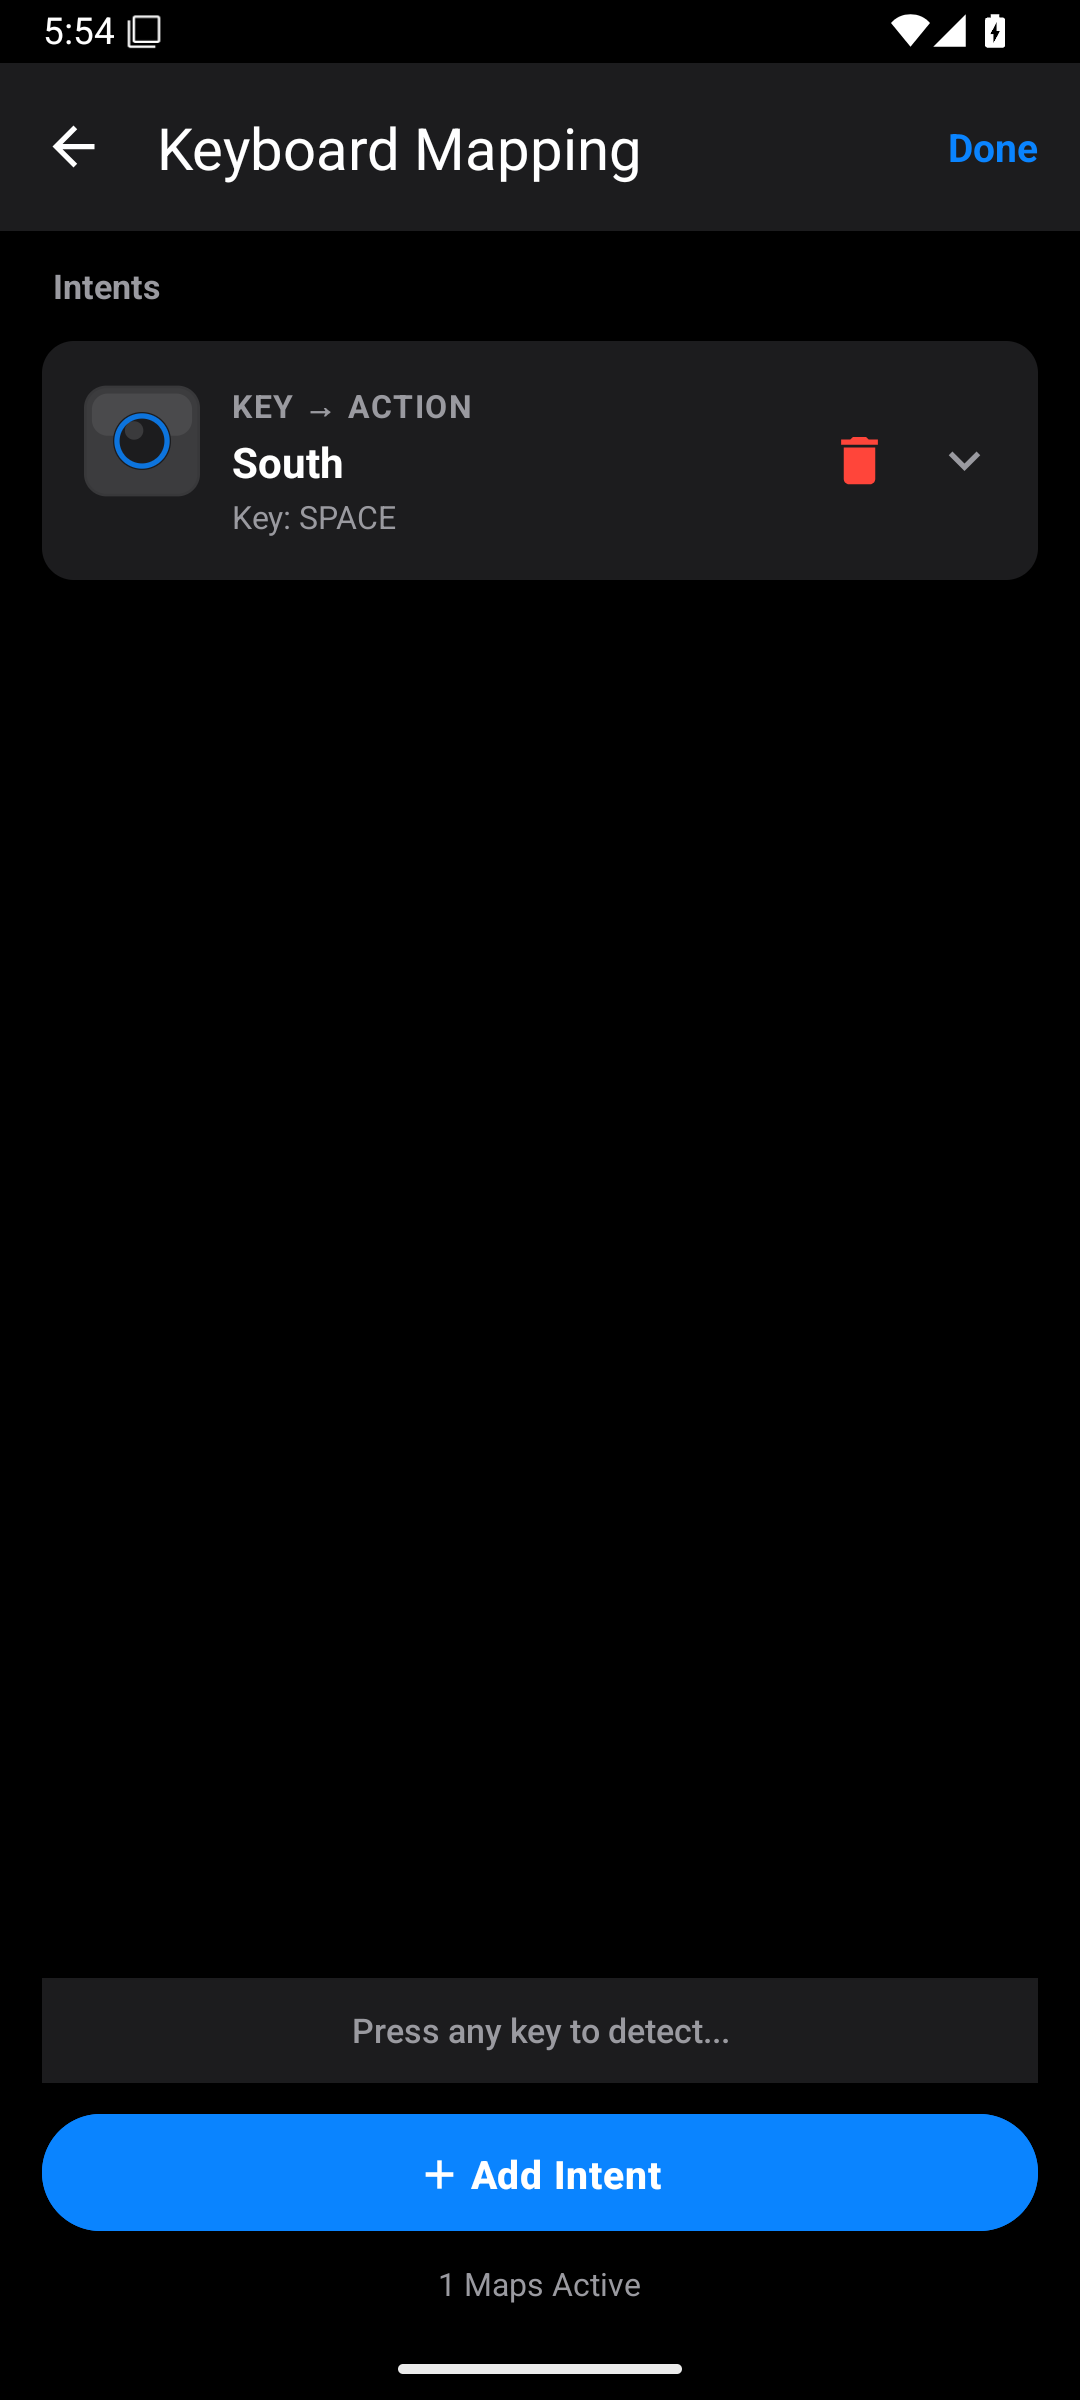
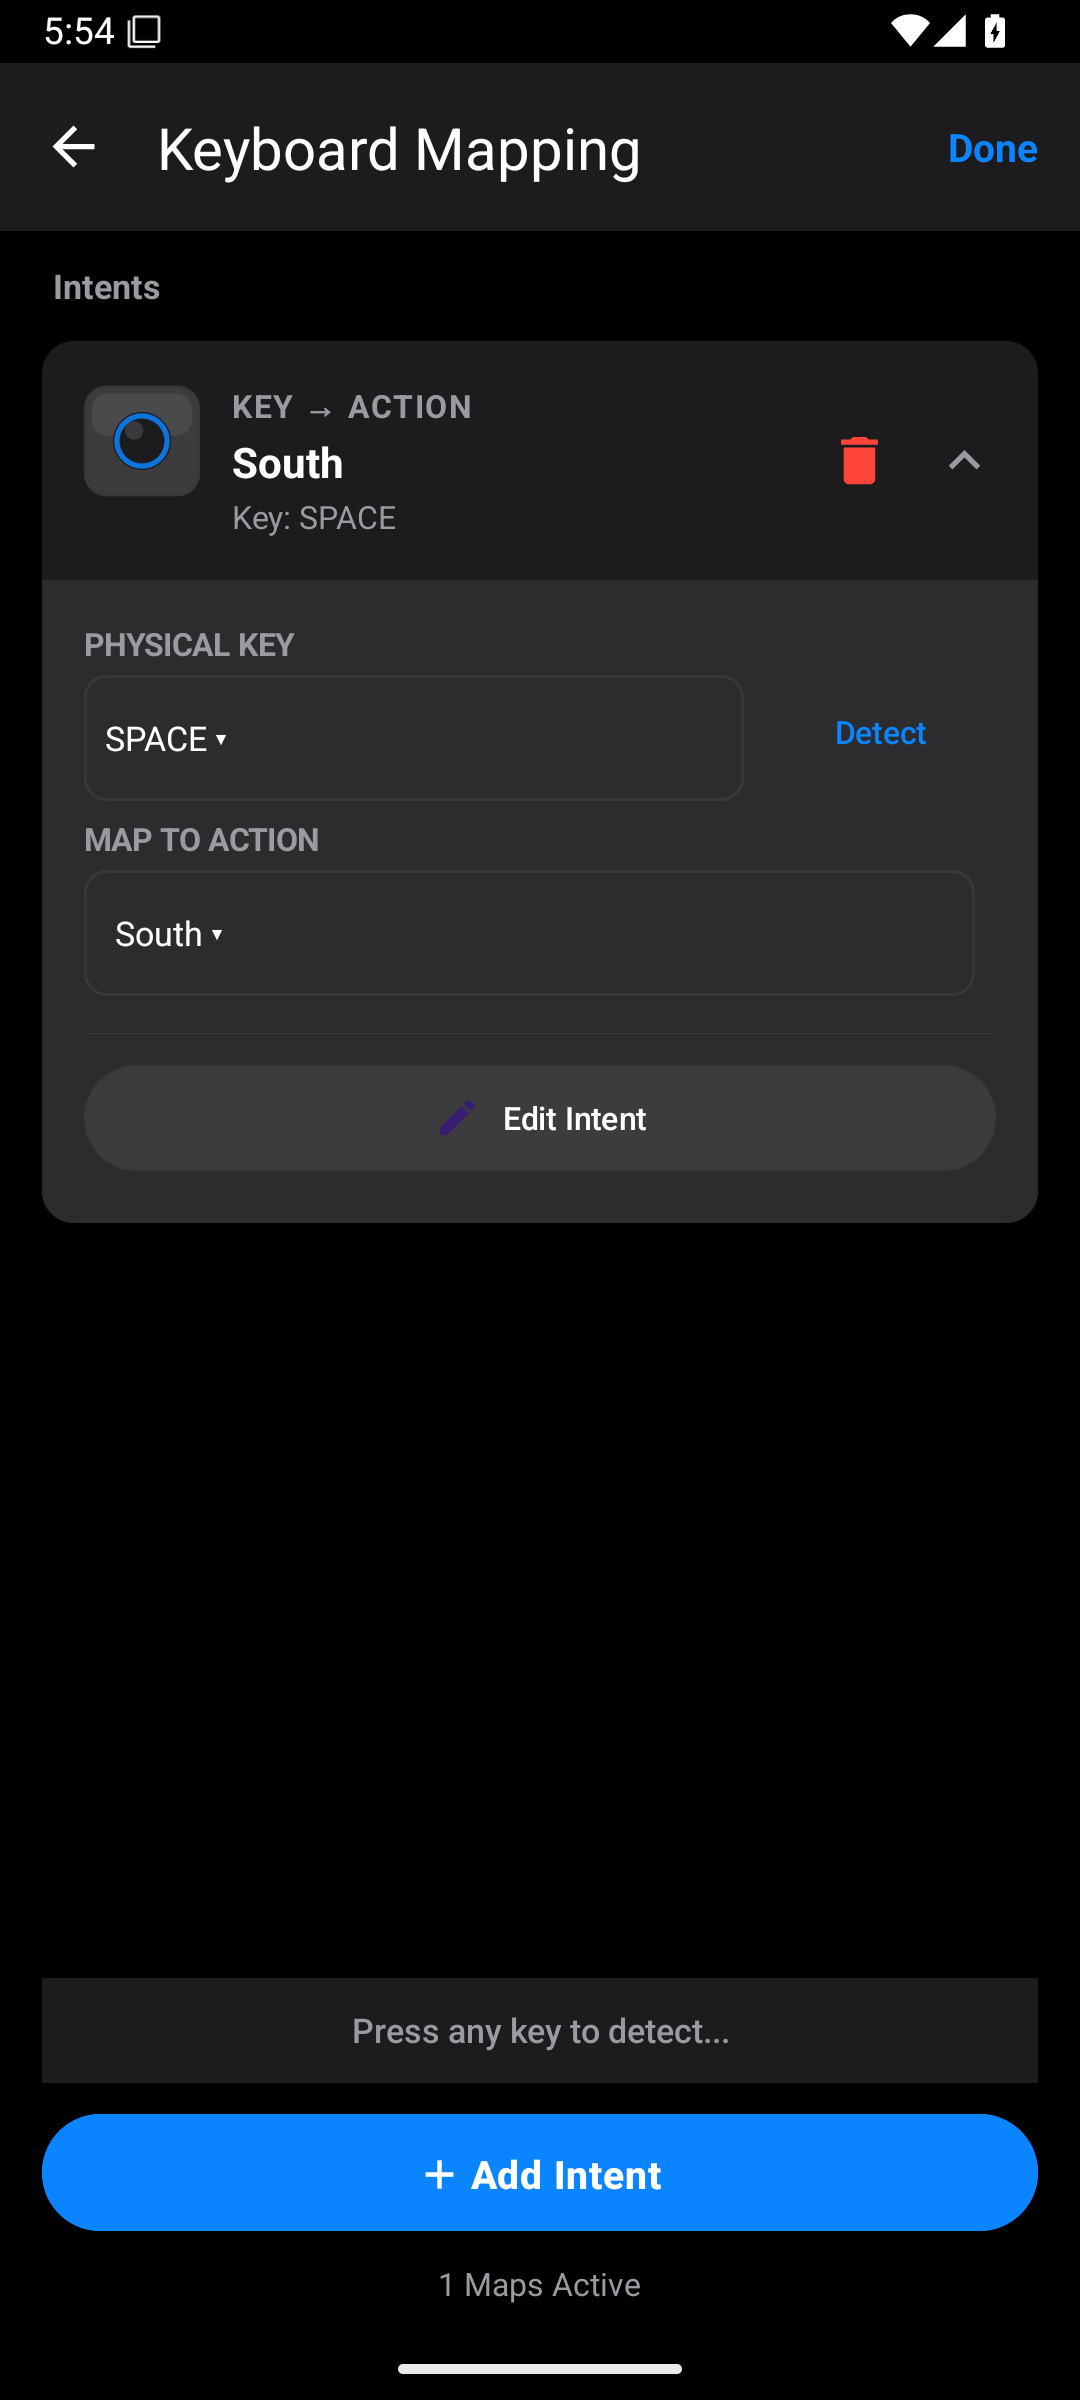
Some starter layouts use W, A, S, D for the D-pad. D-pad movement and stick movement are different controls. If your game needs the left stick, create a Dual Axis mapping and assign its directions to the keys you want.
Keyboard input becomes controller output. Mapping SPACE to South sends a controller button, not typed text to the console.
Mouse input
- Connect the mouse to Android by USB or Bluetooth.
- Tap + Input → Mouse.
- Choose it in Select Mouse.
- Click a button or move the mouse to check detection.
- Open a card, or tap + Add Intent.
- For a button mapping, choose Left Button, Right Button, Middle Button, Back Button, or Forward Button, as supported by your mouse.
- Choose the gamepad action. For example, Left Button → R2.
- For movement, choose the available X/Y movement axes and the output axis or target stick. Wheel inputs include Scroll Up and Scroll Down.
- Use Edit Intent if a click should send several actions.
- Tap Done.
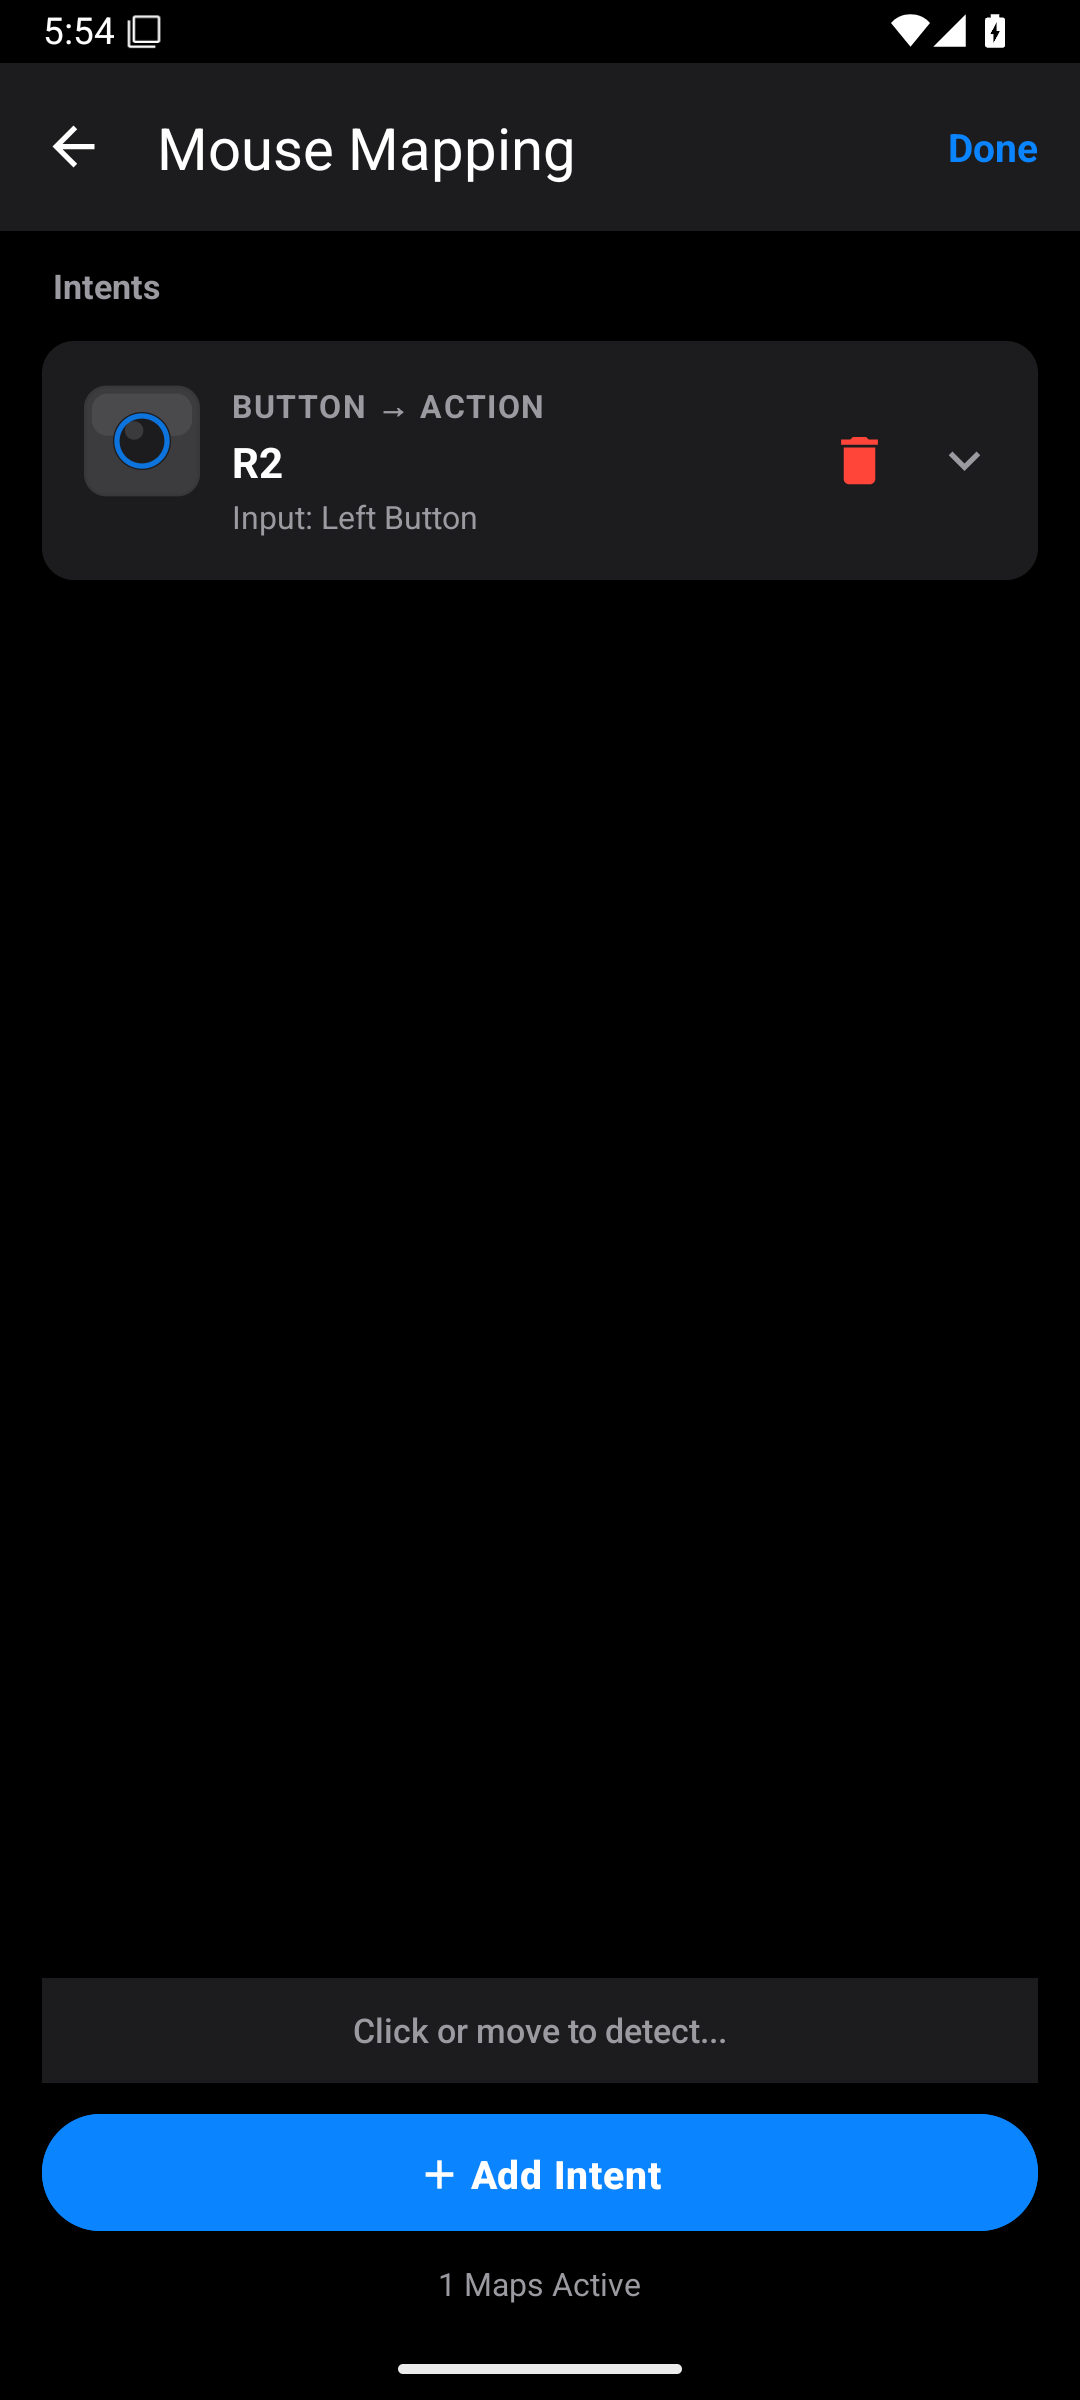
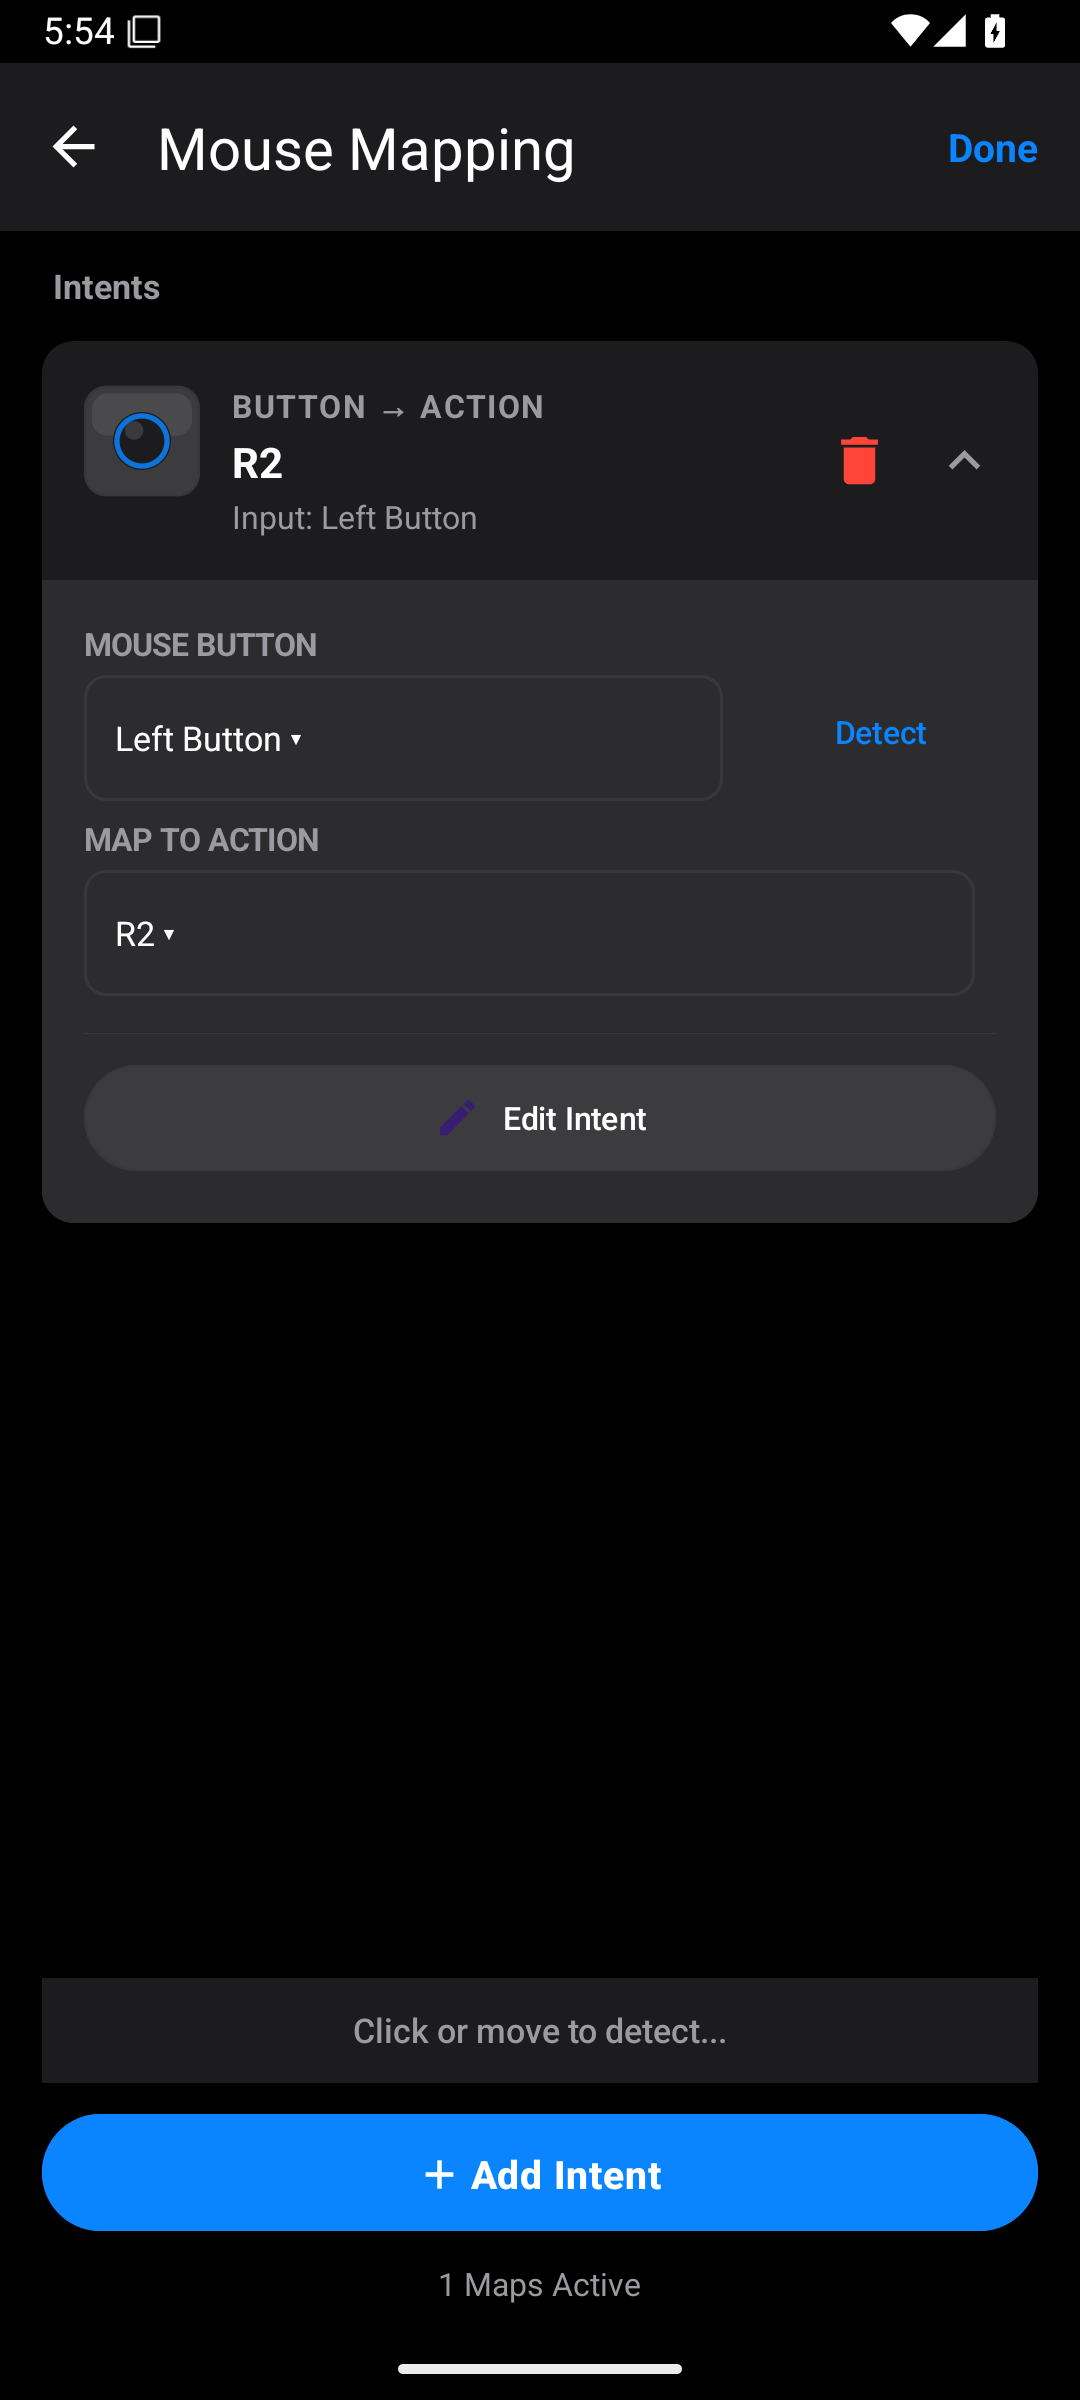
Mouse movement mapped to a stick behaves as controller movement. It is not a promise of the same pointing behaviour as a desktop mouse. Check the game's stick sensitivity as well as your mapping. Start with small movements in a practice area.
Joystick input
Use Joystick for a device that Android reports as a joystick, such as a flight stick or some adapted controls. Use Controller for a normal gamepad unless you have a reason to use the joystick editor.
- Connect or pair the joystick with Android.
- Tap + Input → Joystick.
- Select the device.
- Move a control or press a button to check detection.
- Tap + Add Intent and choose the mapping shape.
- Use Switch for a button, Axis for a single control such as a throttle, or Dual Axis for X and Y stick movement.
- Choose the input button or axes. Use Detect where offered.
- Choose the output action or target stick.
- Check that pushing up produces the direction you expect. Correct the source choice or inversion if that control offers it.
- Tap Done.
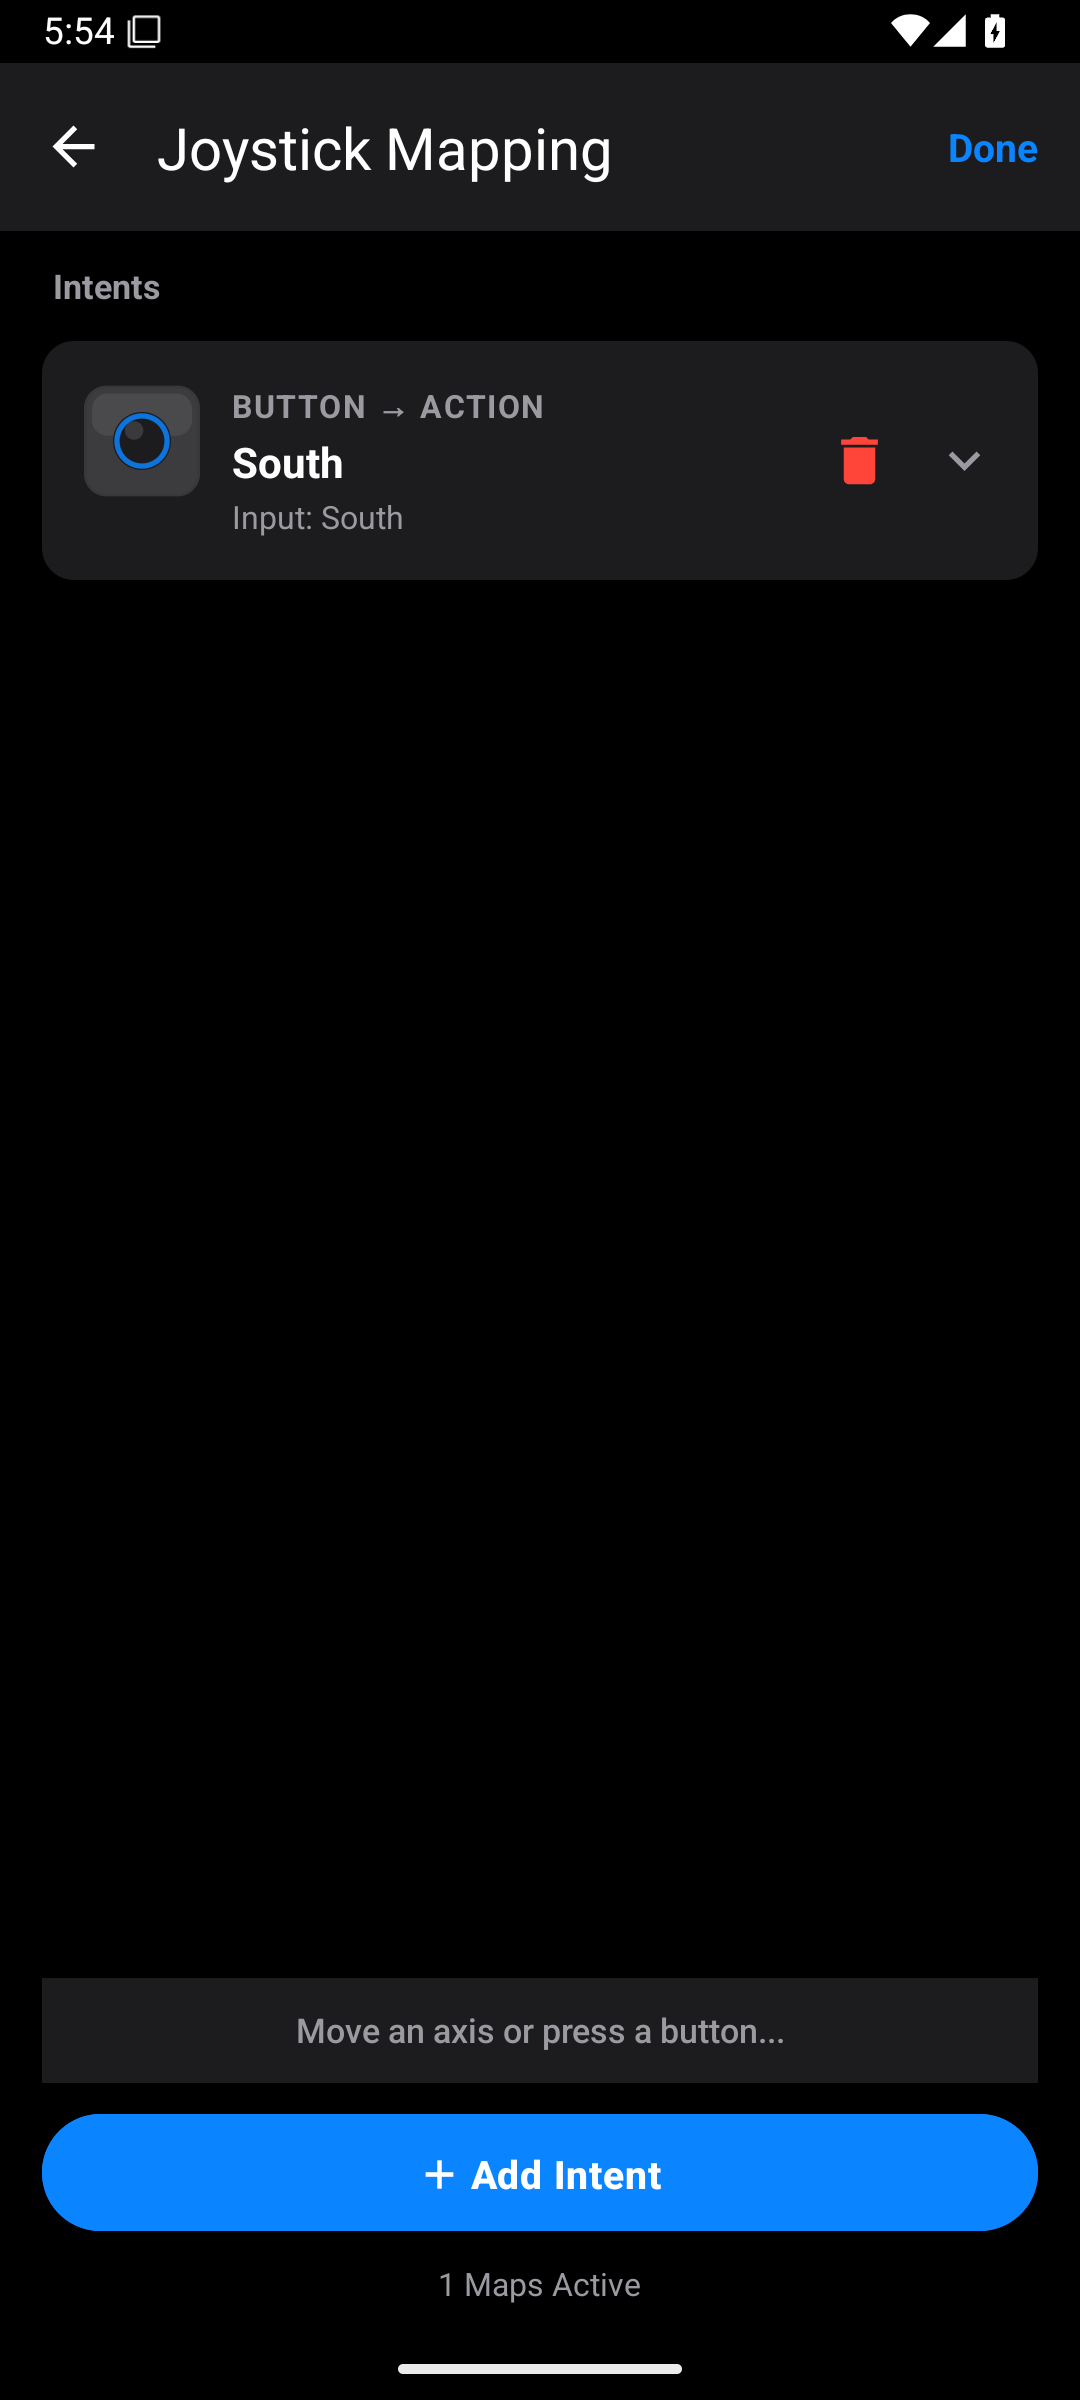
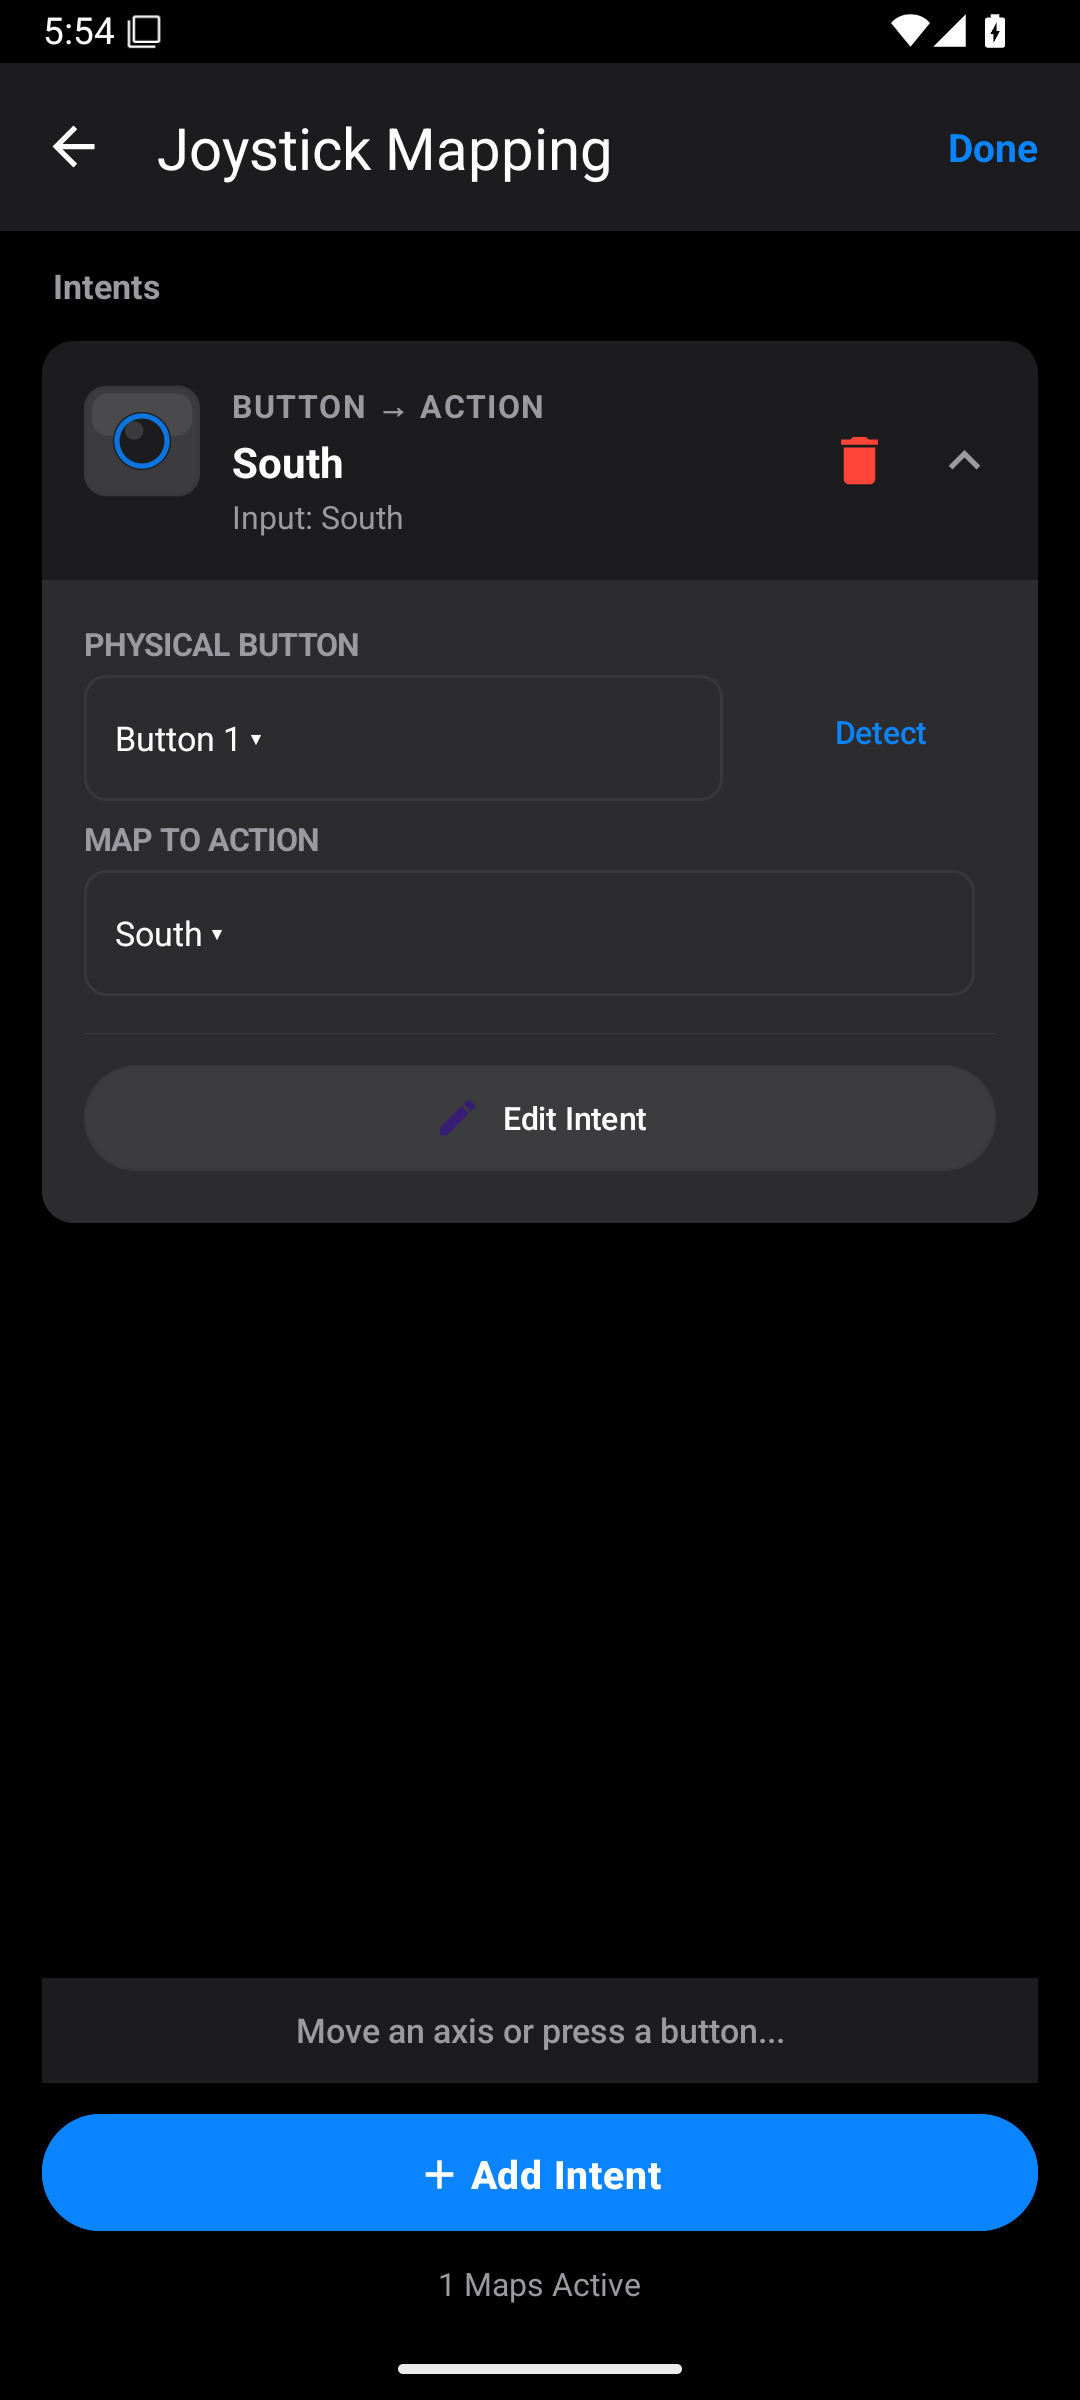
The controls offered depend on what Android reports for your device. The app cannot read an axis that the device does not provide.
ESP32 Link input
- Tap + Input → ESP32 Link.
- Complete board connection setup.
- On the verification screen, tap Save and create mappings.
- The Input Hub opens for that board.
- Tap + Add Intent.
- Choose Switch, Axis, Centered Axis, or Dual Axis.
- Open the new card and select the board input port or ports.
- Choose the action or stick target.
- Calibrate an analog sensor if needed.
- Tap Edit Intent for button timing, combinations, and sequences.
- Tap Done in the Input Hub.
Pico W Link input
- Tap + Input → Pico W Link.
- Select and verify the Pico W through the same connection journey.
- Give it its own name.
- Tap Save and create mappings.
- Use + Add Intent in its Input Hub.
- Choose the mapping shape, source channel, and output target.
- Check live readings and calibrate sensors as needed.
- Tap Done.
The board editor currently shares port labels between board families. Some labels come from ESP32 naming, such as GPIO 34. They are not a Pico W wiring diagram. Do not assume a label means the same physical pin on both boards. Use the channel-to-pin information for the firmware installed on your board, and verify the changing reading in the app.
The protocol shows four analog channels. The current Pico W implementation has three distinct external ADC inputs, so four displayed channels do not mean four independent Pico analog pins.
Choose the right board mapping shape
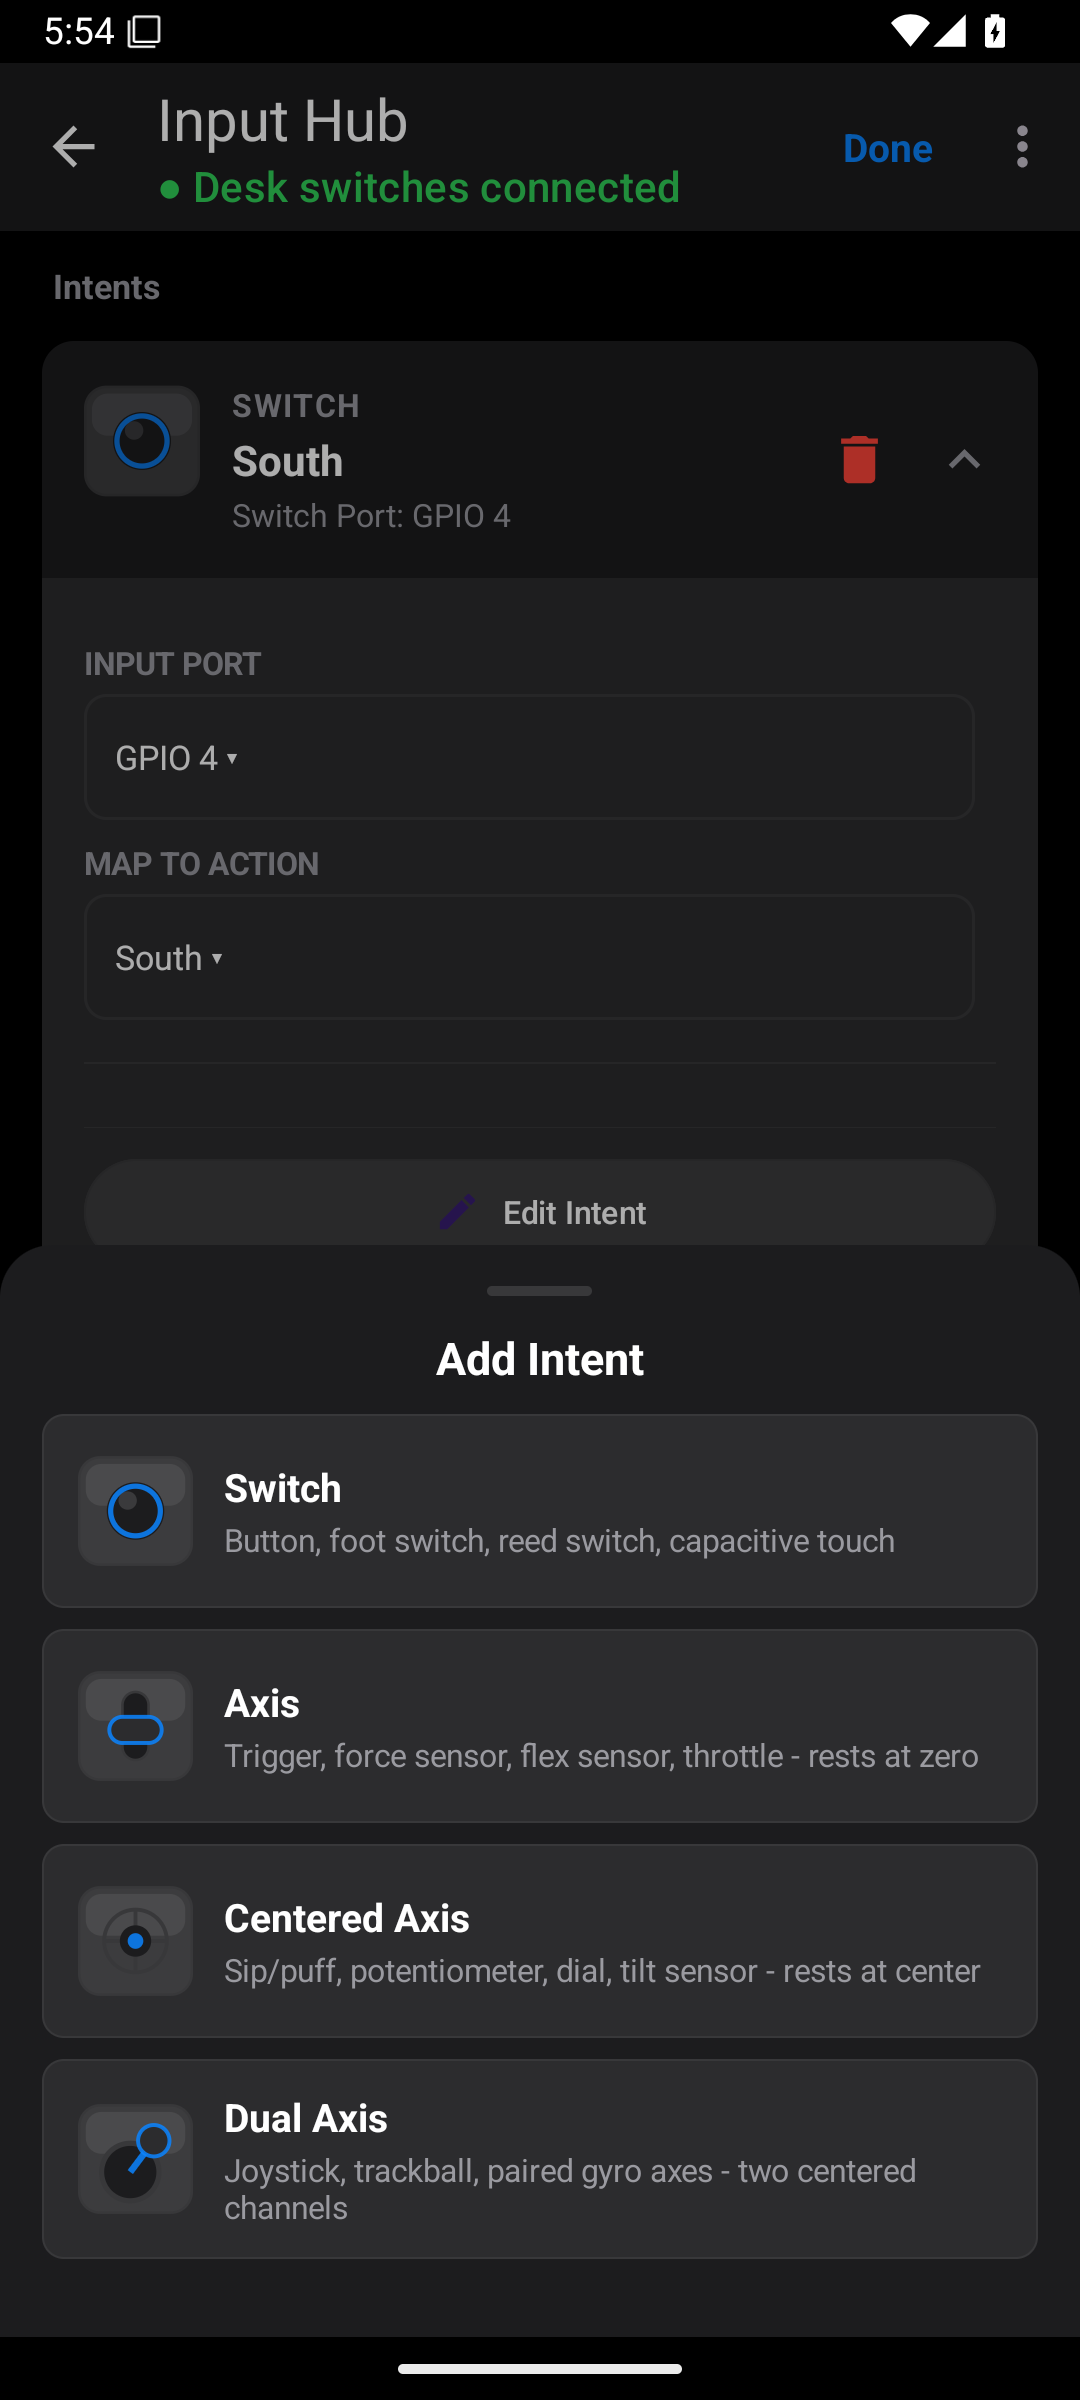
| Shape | What it means | Example |
|---|---|---|
| Switch | Off or on | Button, foot switch, or contact switch |
| Axis | One amount, usually resting near zero | Trigger, force sensor, flex sensor, or throttle |
| Centered Axis | Resting point between two directions | Sip/puff sensor, tilt control, or centred dial |
| Dual Axis | Two centred channels used together | X/Y joystick or two-axis movement sensor |
For Switch, choose Input Port, then Map to Action. Press the switch and confirm its live feedback.
For Axis, choose the port and action. Release the sensor to its normal resting position. Tap Record to store that resting value. Check its full range with the calibration bar.
For Centered Axis, leave the control at rest and tap Record. Set the two actions, shown as Sip Action and Puff Action for this style of mapping. Check both directions. Neutral should sit between the active zones.
For Dual Axis, choose different X and Y ports and select Target Stick. Leave the stick centred and record its centre. Check each axis's minimum, neutral, and maximum values. Move left, right, up, and down to confirm the directions.
Calibration is how you tell the app what the sensor considers rest and full movement. If it moves the character while you are not touching it, check the resting value first. If a direction can never reach its full amount, check the range.
The board Input Hub allows up to eight mapping modules. Analog mappings also need free analog channels; a Dual Axis mapping needs two. This is separate from the eight input-device limit on the home screen.
Face Tracking input
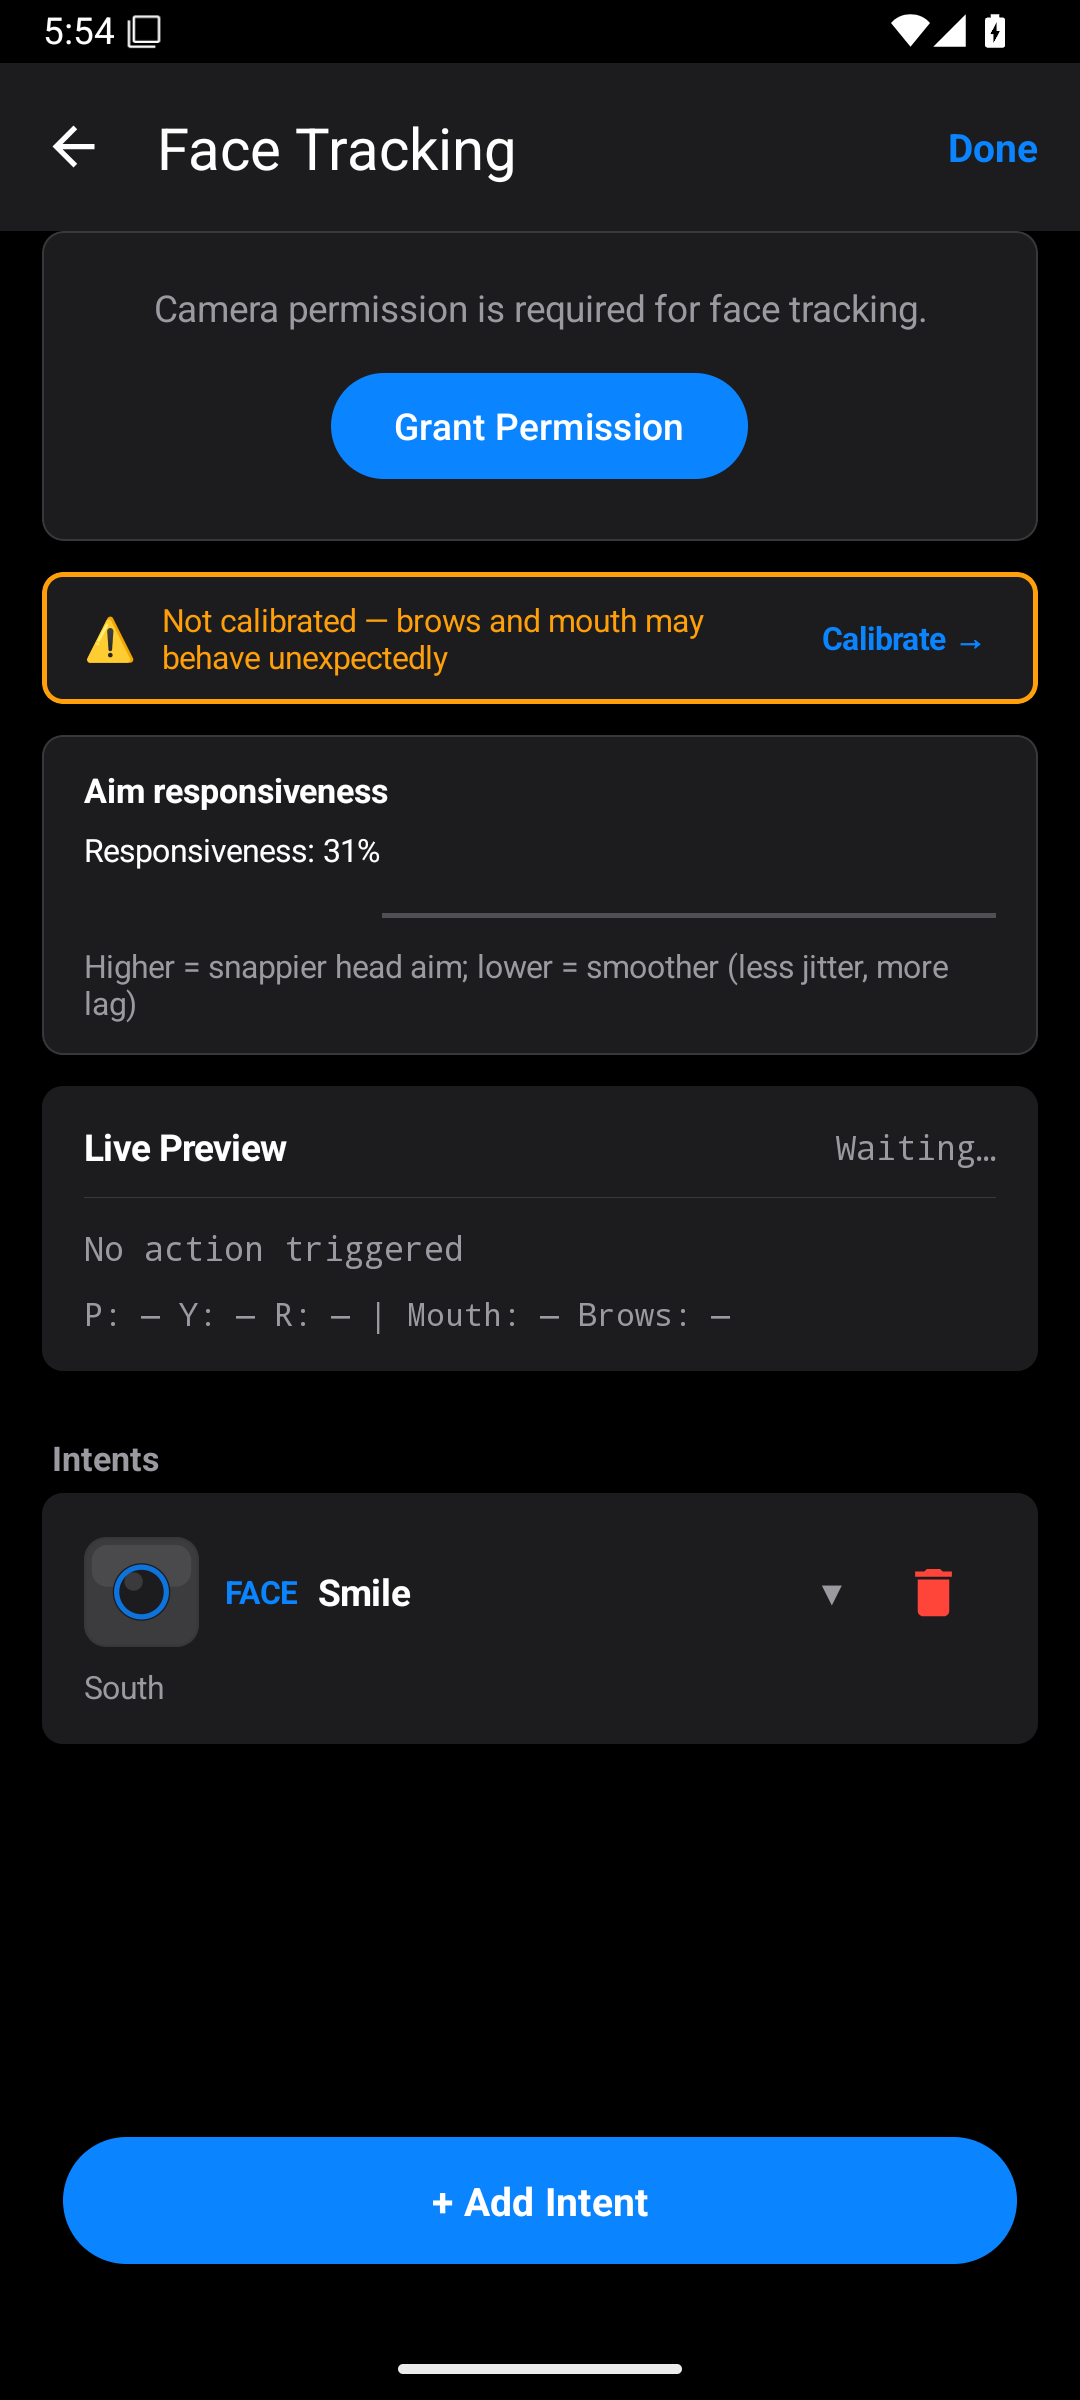
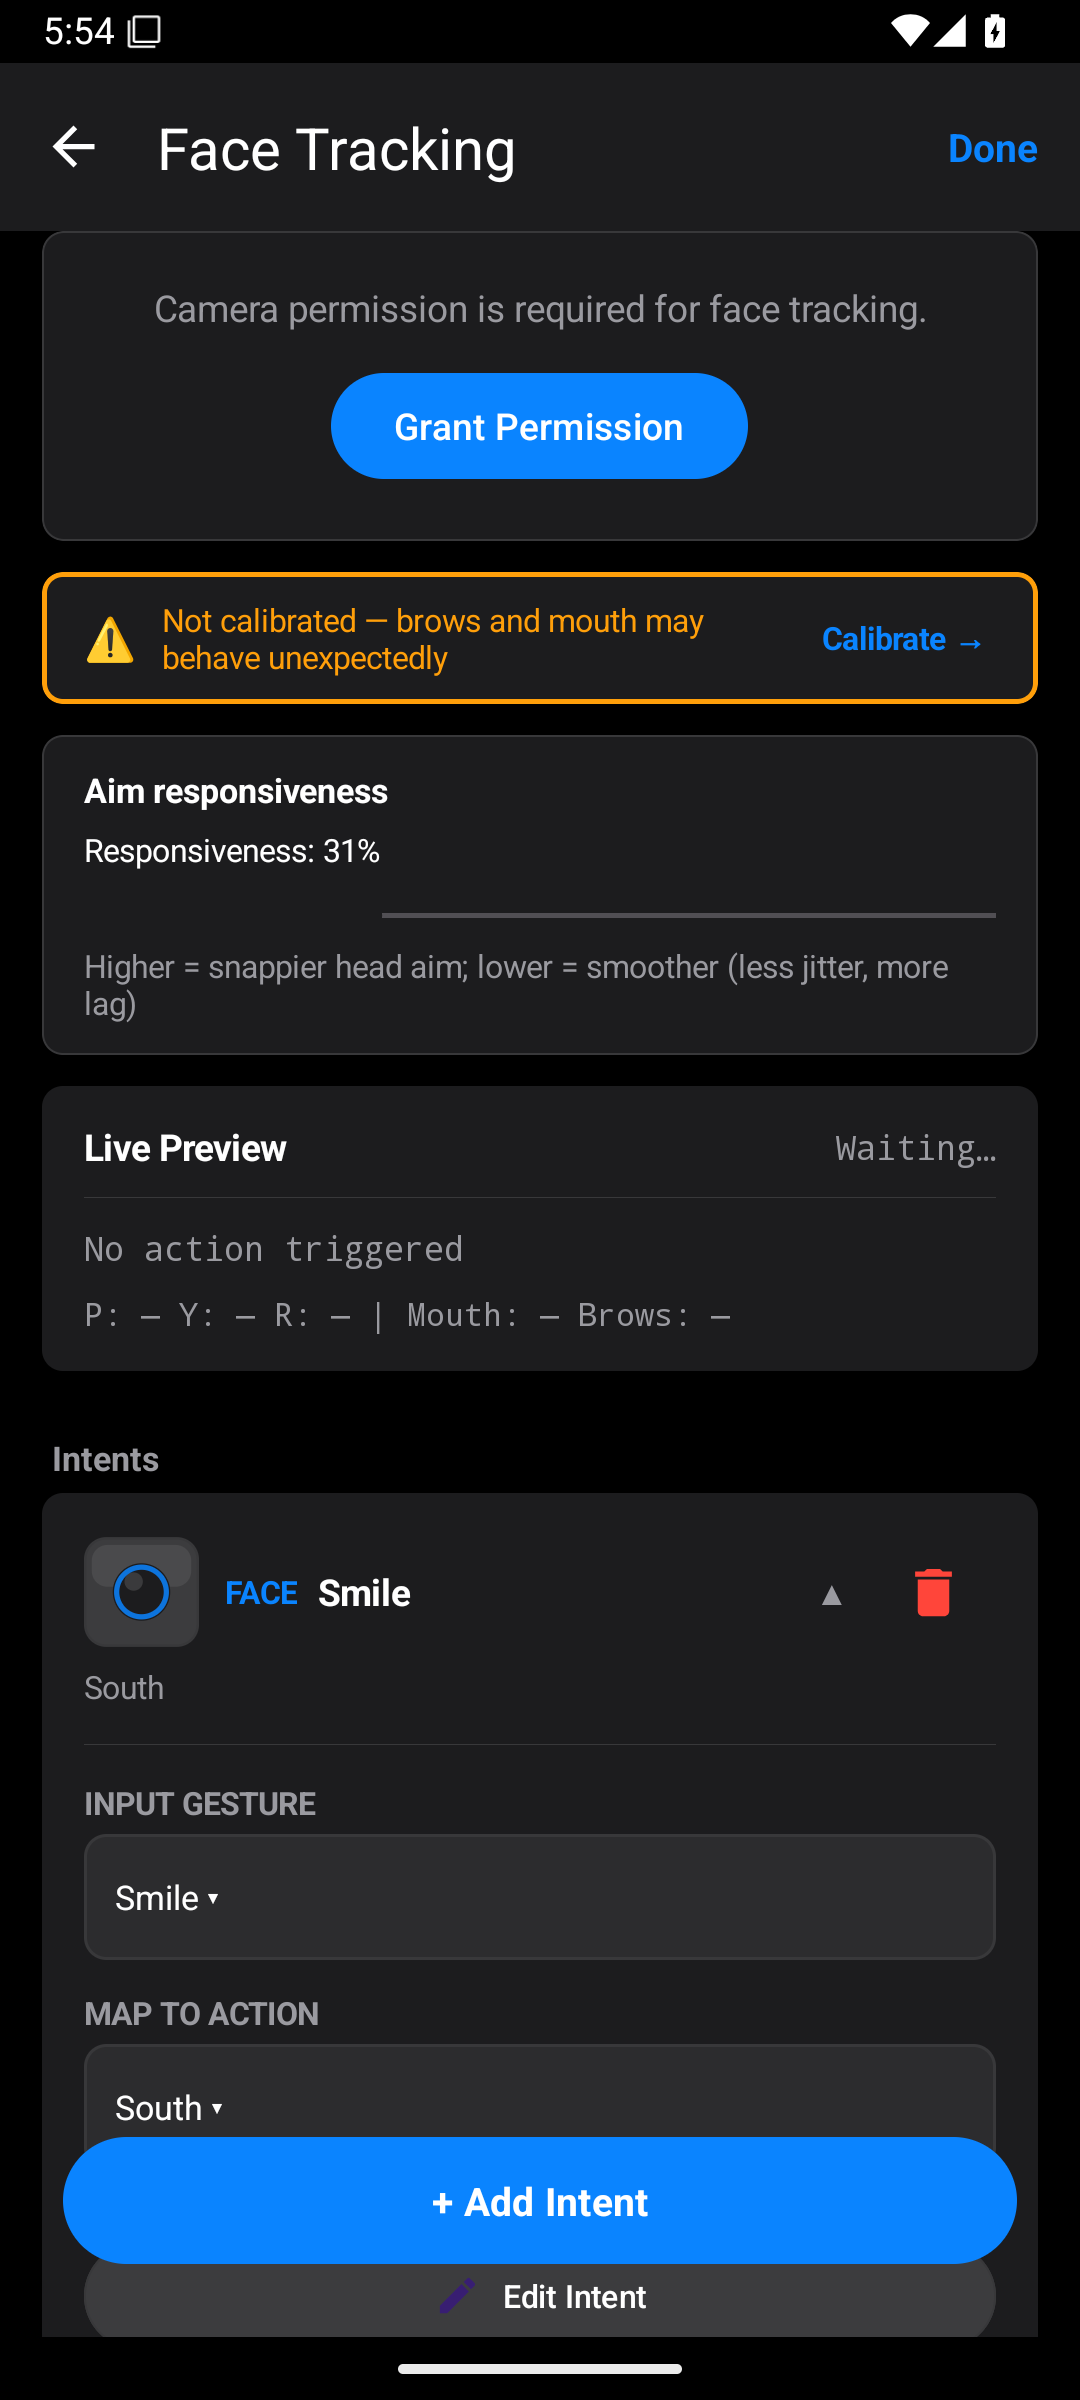
Face Tracking uses the phone camera. Start with one gesture so you can learn how it feels.
- Place the phone where your face is easy to see.
- Tap + Input → Face Tracking.
- If asked, tap Grant Permission and allow camera access.
- Choose the camera using Switch Camera if needed.
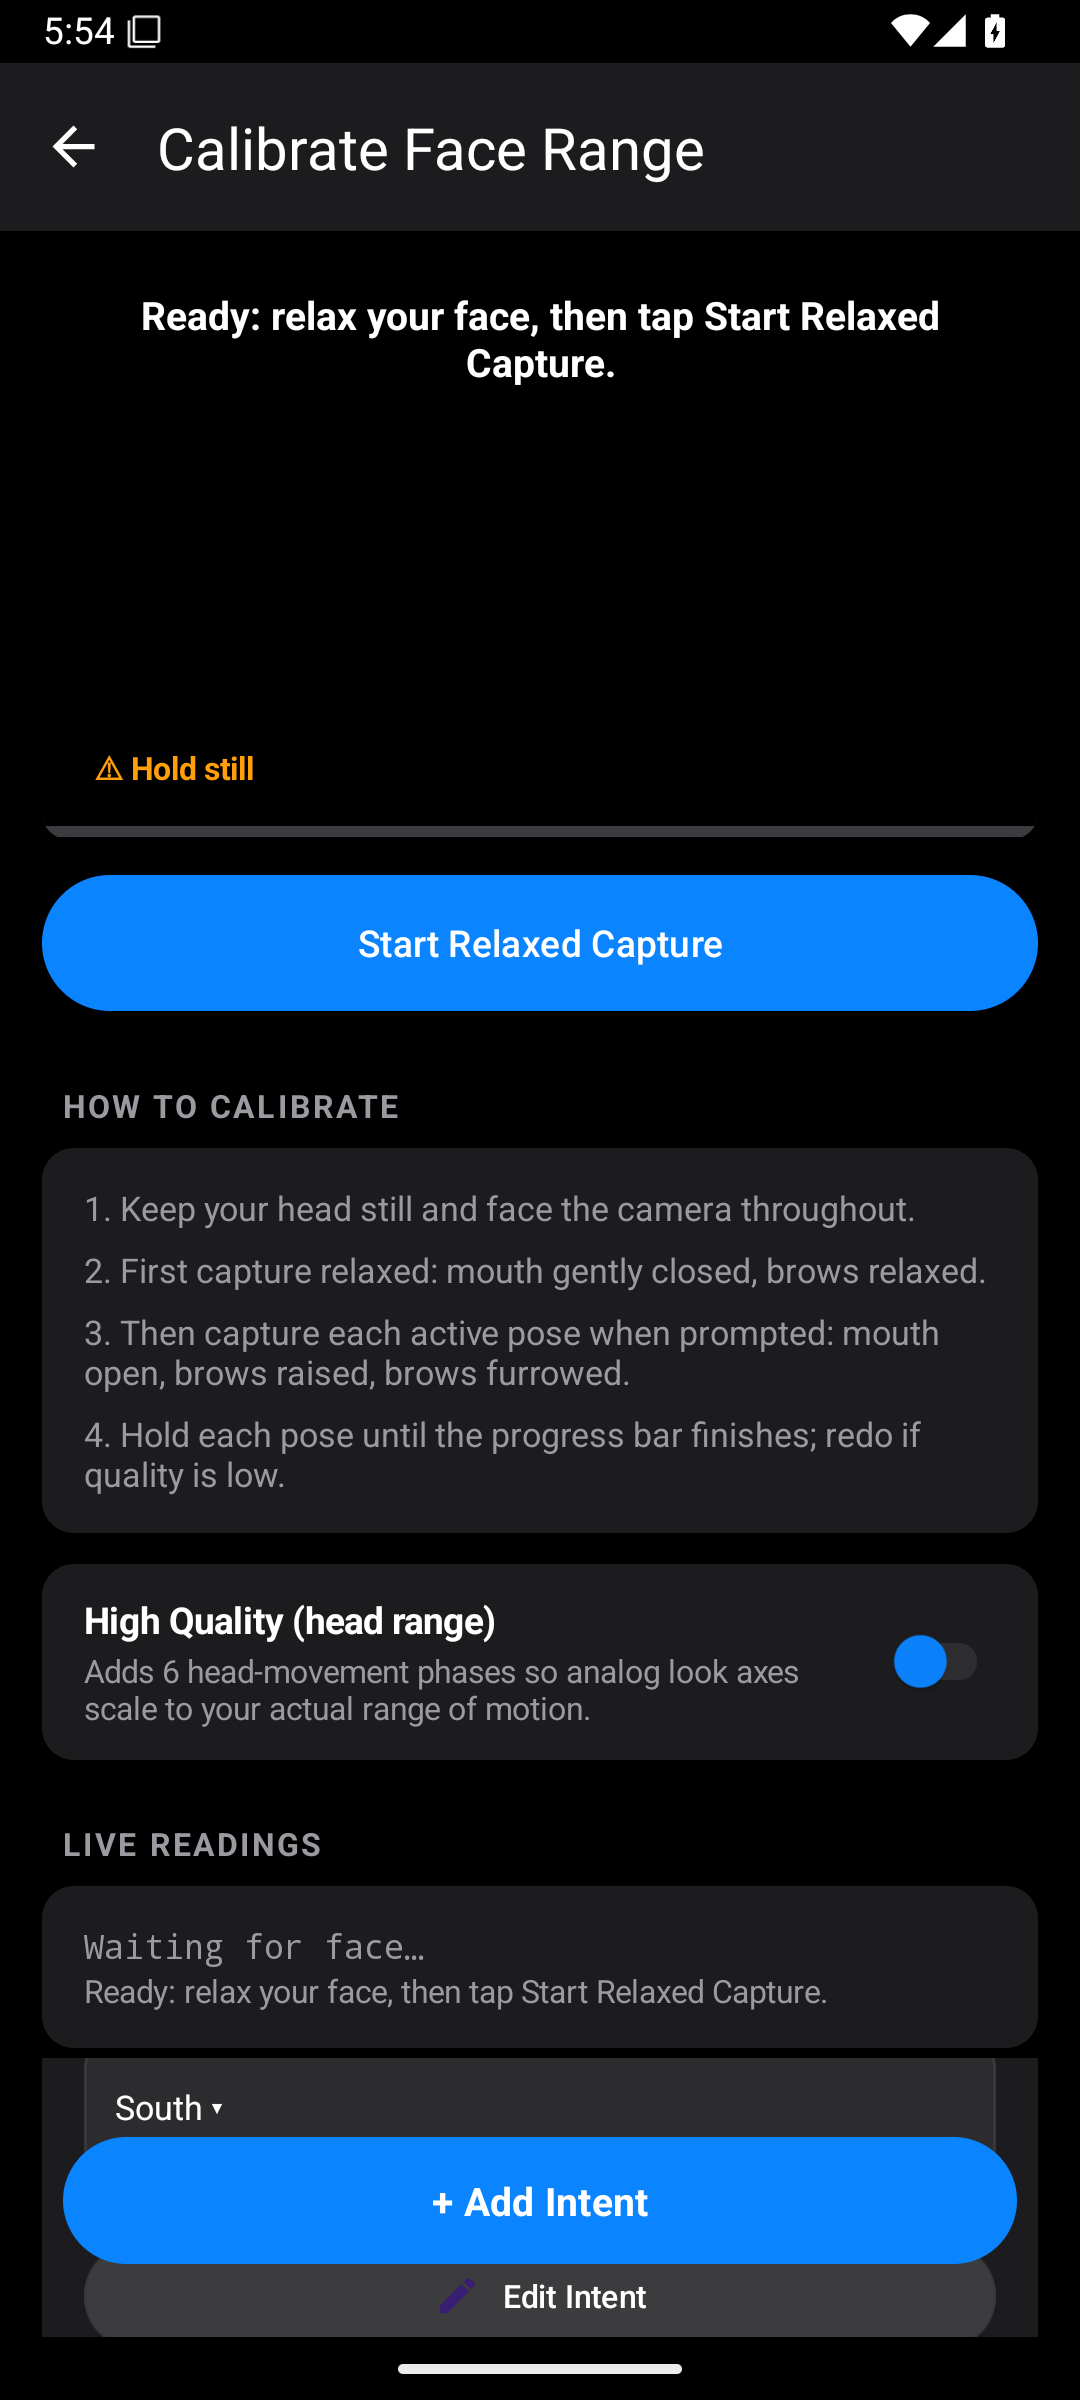
- Tap Calibrate →.
- Follow the capture prompts before adding complex mappings.
Calibrate your face
Sit in the position you will use while playing. Keep your face visible and use steady lighting.
For extra head movement calibration, turn on High Quality (head range) before you start. It adds comfortable turn, nod, and tilt captures after the expression captures.
- Relax your face and tap Start Relaxed Capture.
- When prompted, open your mouth and tap Capture Mouth Open.
- Raise your brows and tap Capture Brows Raised.
- Furrow your brows and tap Capture Brows Furrowed.
- Wait for each capture to finish. Keep the requested expression steady.
- If you use the longer calibration option, follow the extra prompts for right and left turns, looking down and up, and tilting left and right.
- Let the app finish and return to the face editor. Retry a capture if its quality is too low.
Recalibrate if another person uses the profile, the camera position changes a lot, or neutral expressions keep causing actions.
Create face mappings
- Tap + Add Intent.
- Choose the mapping shape. Switch suits a simple expression; Axis suits an amount; Centered Axis suits two sides of a resting point; Dual Axis suits head movement to a stick.
- Open the card.
- Choose its Gesture or the directional gestures for a stick mapping.
- Choose Map to Action, the two centred actions, or Target Stick.
- Watch Live Preview while you make that movement.
- Open ADVANCED SETTINGS if you need to tune detection.
- Tap Edit Intent for combinations, repetition, or timing.
- Tap Done.
Available gesture choices depend on the mapping shape. The app includes winks, blink, smile, head nod and shake, look directions, tilt directions, mouth, and brows. A head-stick mapping uses directional gestures for up, down, left, and right.
| Face setting | What it changes | When to adjust it |
|---|---|---|
| Aim responsiveness | How quickly head-based aiming reacts versus how much it is smoothed | Increase for quicker motion; reduce if movement feels shaky |
| Sensitivity | How strongly a movement affects the mapping | Change if a comfortable movement gives too little or too much output |
| Deadzone | The small area near rest that is ignored | Increase a little if tiny movements cause drift |
| Invert | The direction of an analog control | Change if movement goes the wrong way |
| Threshold | How far an expression must go before it counts | Raise to reduce accidental triggers; lower if it is hard to trigger |
| Hold Frames | How many camera frames must agree before a gesture counts | Increase for steadier detection; expect more delay |
| Separate open/closed or raised/furrowed thresholds | The two active zones of a centred expression mapping | Adjust each side without moving the other side's target |
Not every setting appears for every gesture. Change one setting at a time and test it. Avoid using a movement you often make by accident for a critical game action.
Virtual Input
Virtual Input is a controller drawn on the phone. Only one Virtual Input is allowed in a profile.
- Tap + Input → Virtual Input.
- The app adds starter virtual-controller mappings.
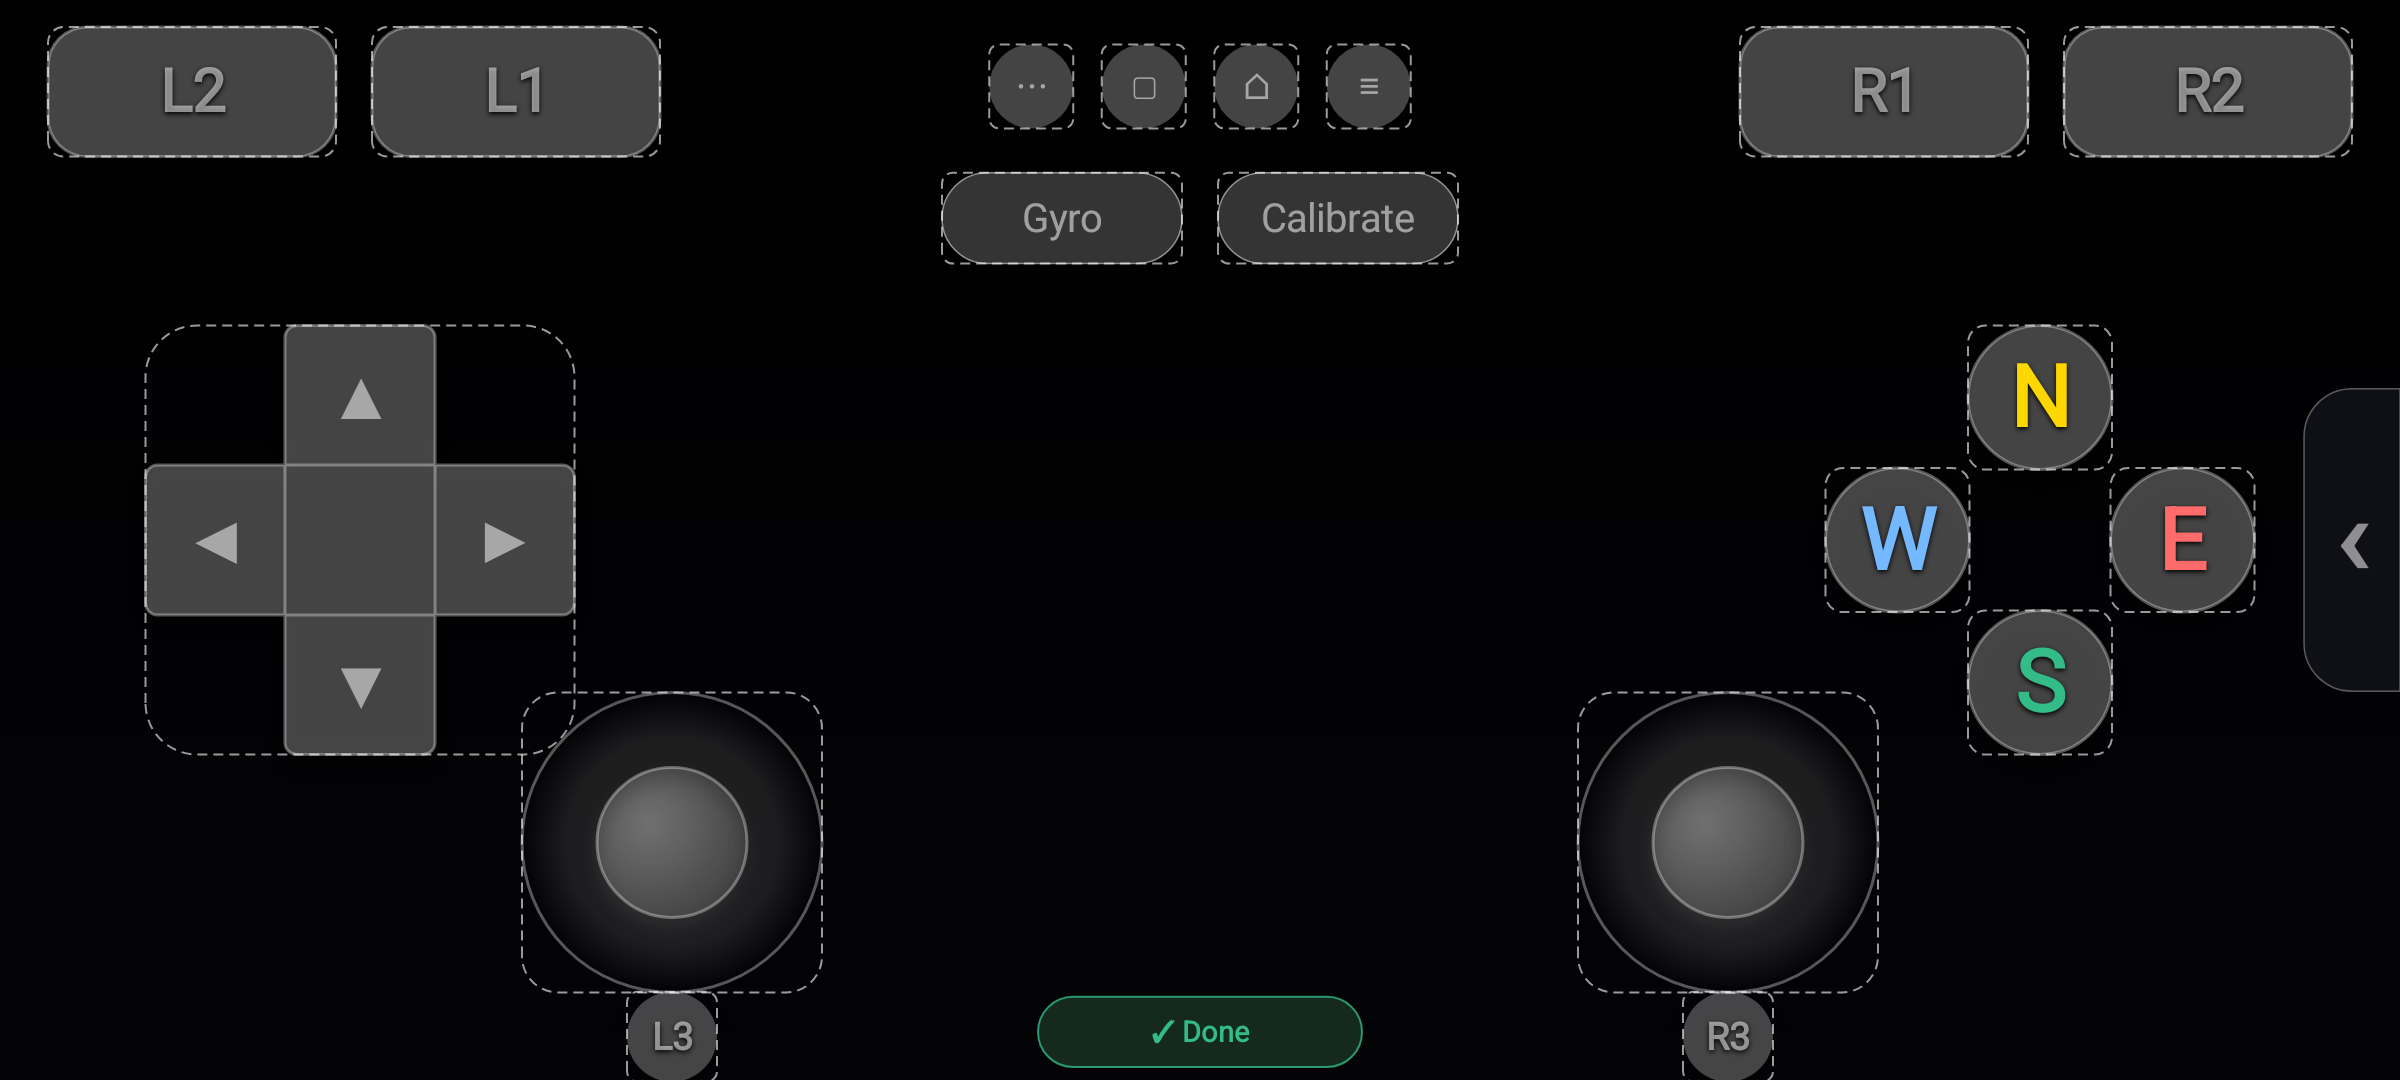
- Tap its card or edit control to open the layout editor.
- Turn the phone sideways if needed. The editor is in landscape.
Change positions and sizes
- Drag a control to move it.
- Tap a control to select it.
- Pinch with two fingers to resize the selected control.
- Use the × badge to hide a selected element.
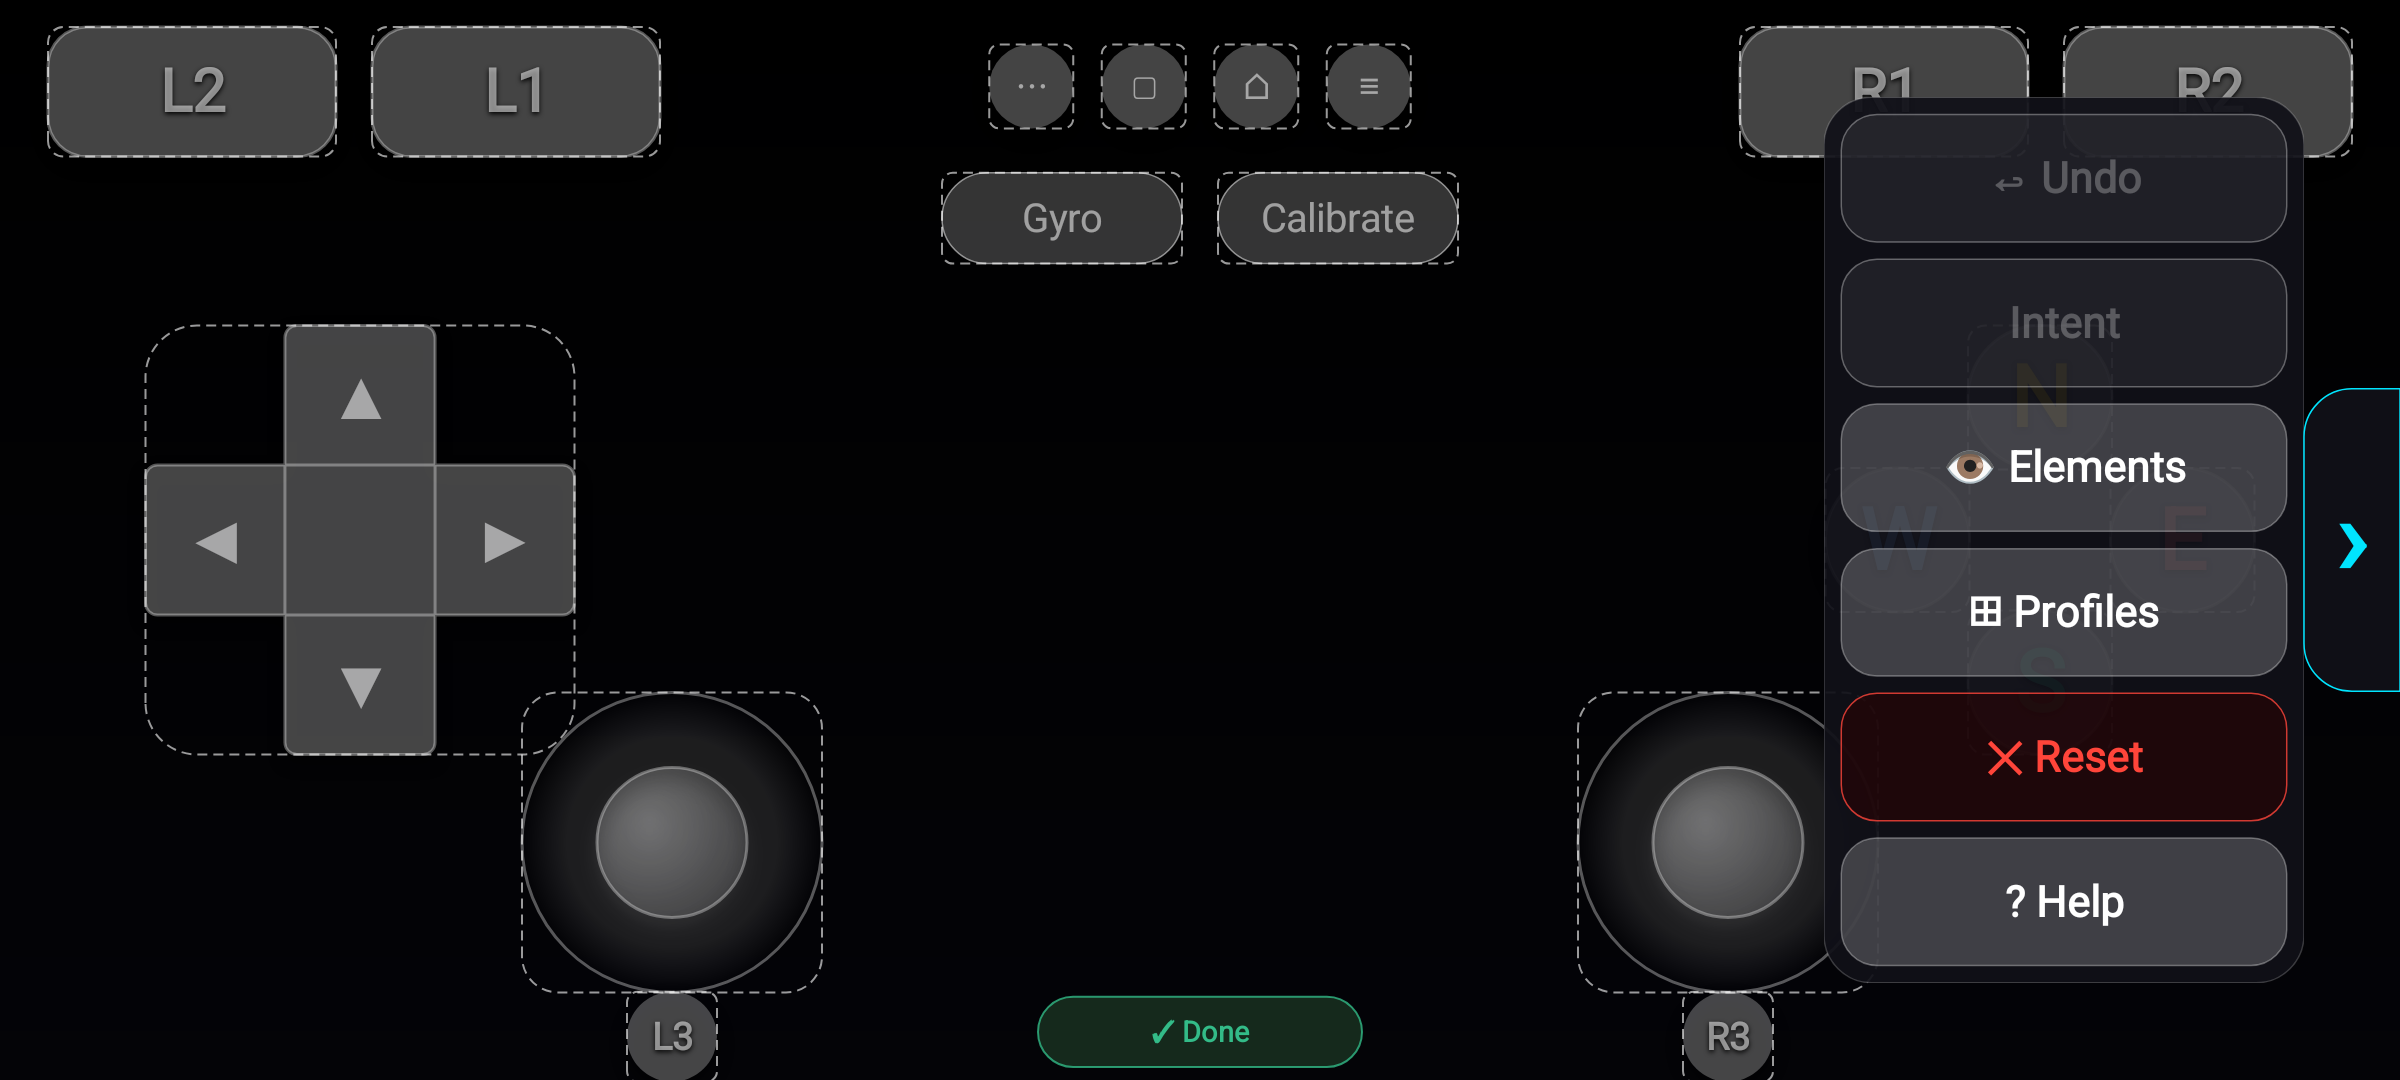
- Tap the chevron on the right edge to open Edit tools.
- Tap 👁 Elements to show or hide controls using the list.
- Use ↩ Undo to undo recent layout edits.
- Tap ✓ Done to leave edit mode when finished.
Make the buttons you use often large enough to press comfortably. Move less-used buttons away from your thumb's usual path.
Change what a virtual button does
- In edit mode, select a button.
- Open the right-edge tools panel.
- Tap Intent.
- Edit its outputs and behaviours.
- Tap Save & Close.
For a D-pad, choose the direction to edit when asked. The button Intent option is for buttons and directions. A stick's continuous movement is not edited as a single button Intent.
Save a layout
- Open Edit tools → ⊞ Profiles.
- Tap + Save current as new profile….
- Enter a layout name.
- Tap Save.
- To load it later, open ⊞ Profiles and tap the layout name.
Default Layout restores the default positions. Manage… offers actions for saved layouts. ✕ Reset resets the current layout after confirmation. ? Help shows the layout editing hint.
Layout profiles save button positions, sizes, and visibility. The main home-menu profiles save your input mappings and output choice. These are different things.
Use the virtual controller
Return to the home screen and tap Start Mapping. The virtual controller play screen opens. Use its Stop control to end the mapping session.
If your phone has a gyroscope, Gyro and Calibrate can be used for motion controls. Hold the phone still during the calibration countdown, check the result, and use Looks good or Redo as offered. Motion output is currently supported by PS Remote Play. Selecting Gyro does not add motion support to every other output.