
What to have ready
Have your phone, a supported output destination, and at least one input ready.
For a USB input or board, use a data cable and an Android USB host adapter, often called an OTG adapter. A charging-only cable cannot carry input data. A USB hub may be needed for several devices.
For a Wi-Fi board, have the network name and password ready. The board needs a supported 2.4 GHz network. The phone and board must be able to reach each other on that network.
For face tracking, place the phone where the camera can see your face clearly. For Remote Play, have the console switched on for the first setup.
A simple first run
- Open Intent Controller.
- Tap Add Output in the SEND INPUT TO area. If an output is already selected, the button says Change Output.
- Choose one output and complete its setup. Use the matching output instructions below.
- Return to the home screen.
- Tap + Input beside INPUTS.
- Choose your input type.
- Connect or select that input. Then check its mappings. Some input types create starter mappings for you.
- Set one easy test action. For example, map a switch or key to South with Hold behaviour.
- Tap Done in the input editor.
- Return to the home screen. Read the status below the app title.
- Let go of buttons and return sticks to the centre.
- Tap Start Mapping. Complete any Bluetooth pairing or permission request that appears.
- Test the action in a game menu or practice area.
- Tap Stop when you finish.
Do this first with one input and one action. Add more controls after that test works. This makes it easier to find a mistake.
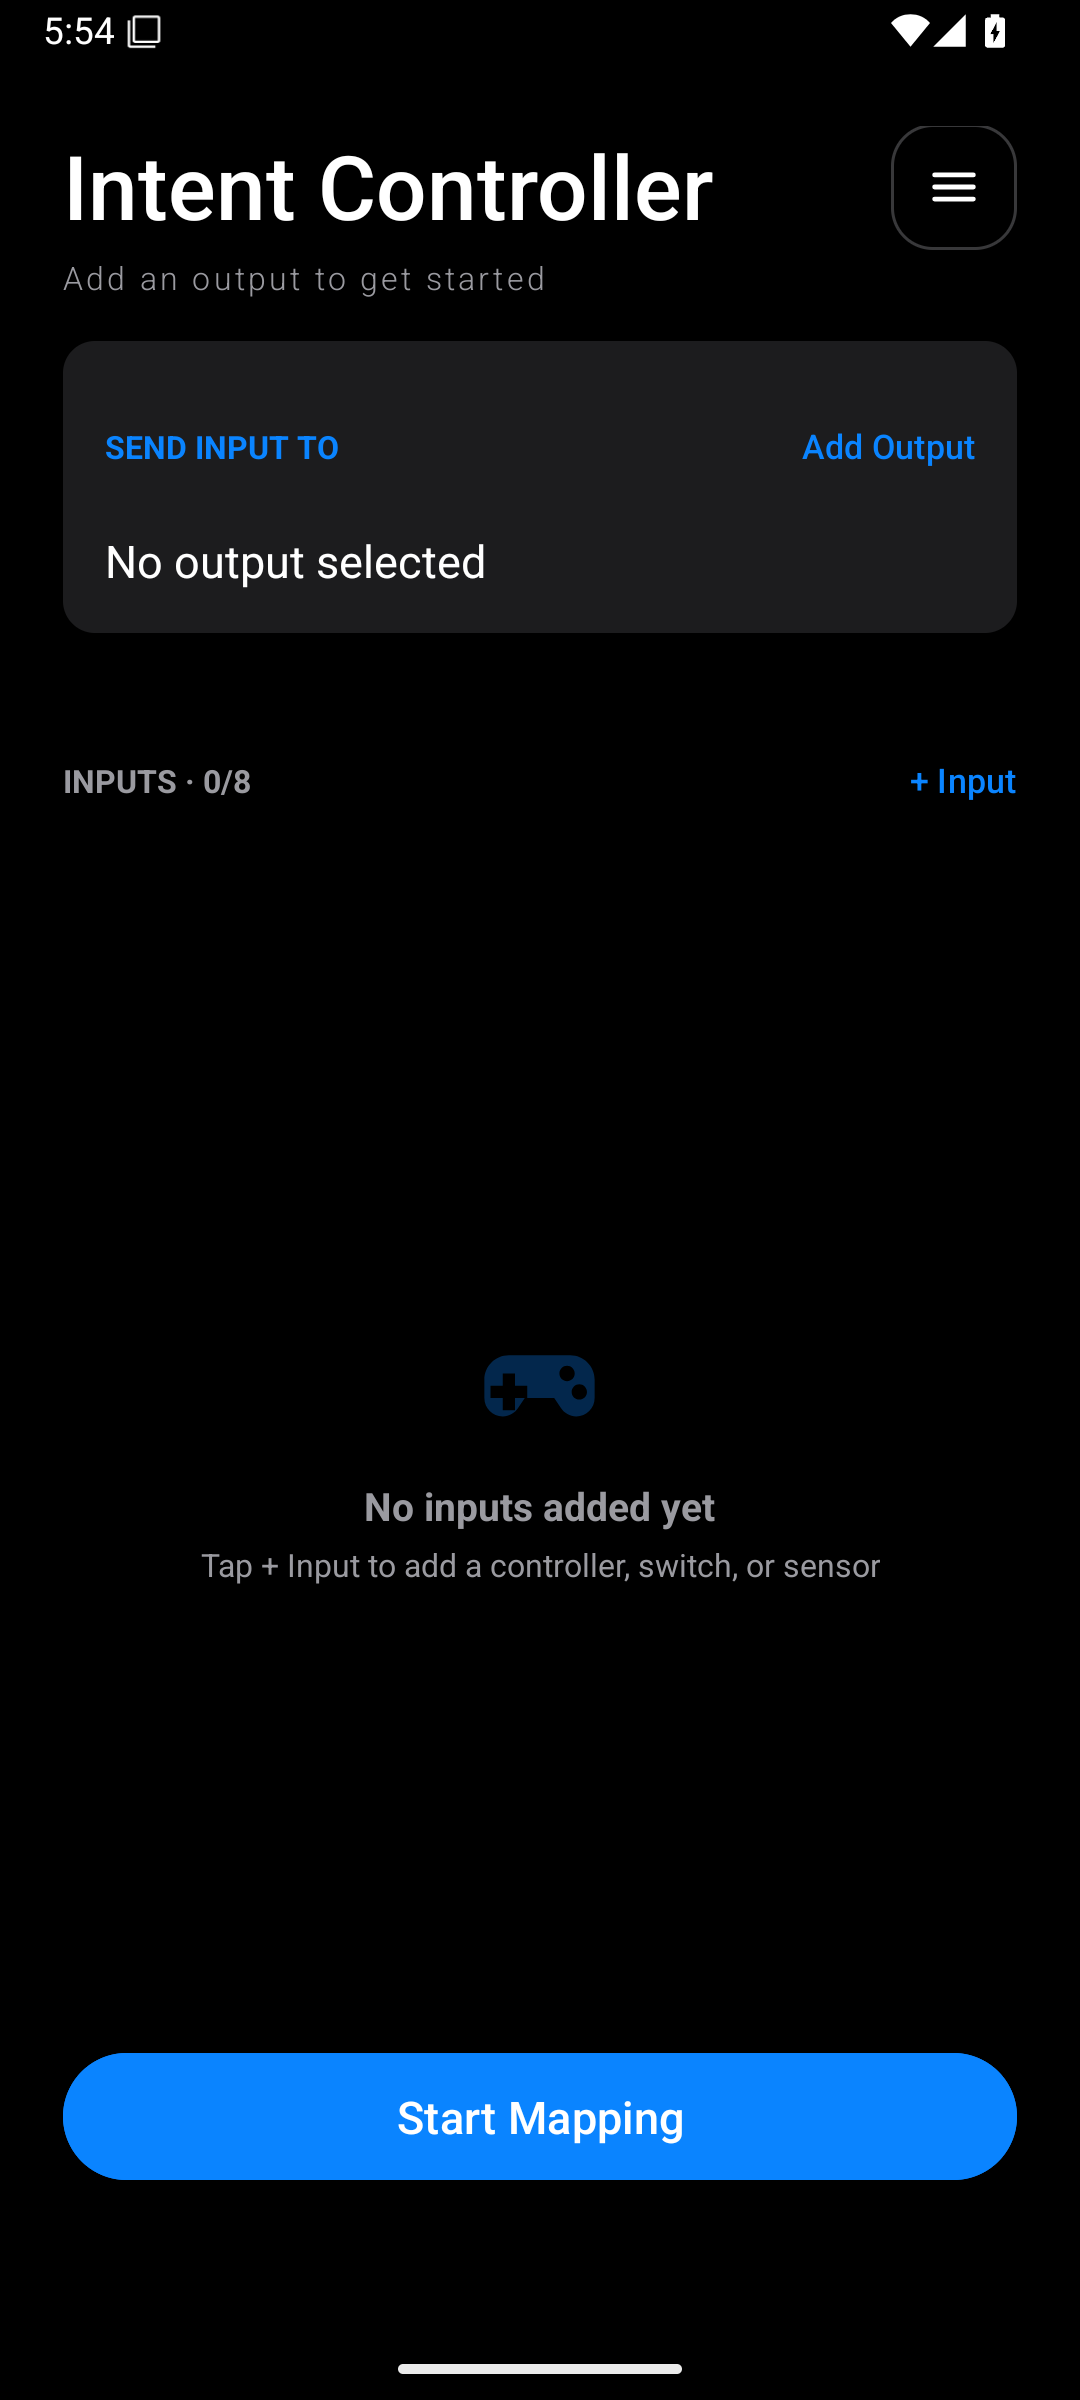
If Start Mapping is unavailable, complete the missing step shown by the app. A plugged-in input still needs a mapping. A board output also needs a verified connection and an applied controller identity.